You may know that jasper is a gemstone, but do you know what it means to be a good stone? Jasper has many different meanings and uses. One of the most common uses for this gem is jewelry.
If you are looking for an alternative to diamonds or gold, consider using jasper stones as your next purchase. It’s beautiful and interesting to look at and you can even use it as home decor. Keep reading to learn more about jasper stones.
What is Jasper Stone?
Jasper stone is a variety of Chalcedony, a microcrystalline variety of silica. Known as supreme nurture, this is a stone of grounding energies and stability that provides comfort, security, strength, and healing.

Image credit: https://crystalstones.com/
This beautiful stone comes in different colors, including red, green, brown, and yellow. Each of these colors is believed to have healing and magical properties.
History and Jasper
Ancient Egyptians believed that wearing jasper would increase sexual energy and aid fertility. Native Americans thought that jasper had both magical and healing properties and used it to connect to the spirits. According to the Bible, jasper is of the sacred stones that formed Jerusalem.
Magical and Healing Properties of Jasper
Jasper is a stone of protection and has been used to ward off evil spirits. It is also said to attract good luck and prosperity. Jasper is thought to be a powerful healing stone that can help with a wide variety of physical and emotional issues.
It is said to promote feelings of peace, relaxation, and security. This nurturing stone is said to help achieve a state of calm and zen and protects your energy by absorbing all the negative energy, making it a great one to have on hand when you’re going through a hard time.
For the green warriors out there, it also helps clear out spaces for environmental pollution and radiation. This highly protective stone can be used to promote dream recall.
What Color is Jasper Stone?
Jasper stone is always multicolored with a unique and consistent pattern habit. The color palette is usually along the earth color spectrum, with the common colors being red, green, yellow, or green. Its name comes from the Latin and Old French words for spotted or speckled stone.
Colors and Types of Jasper
In addition to the generic healing properties of jasper, different colors of the stone are said to have their specific benefits.
Black Jasper
Also known as Blackstone, black jasper is a highly protective stone that is great for grounding energies, especially if you’re experiencing spaciness. It can help in connecting one’s variations to the earth. Black jasper is also useful in relieving pain and helps stomach ailments and foot problems.
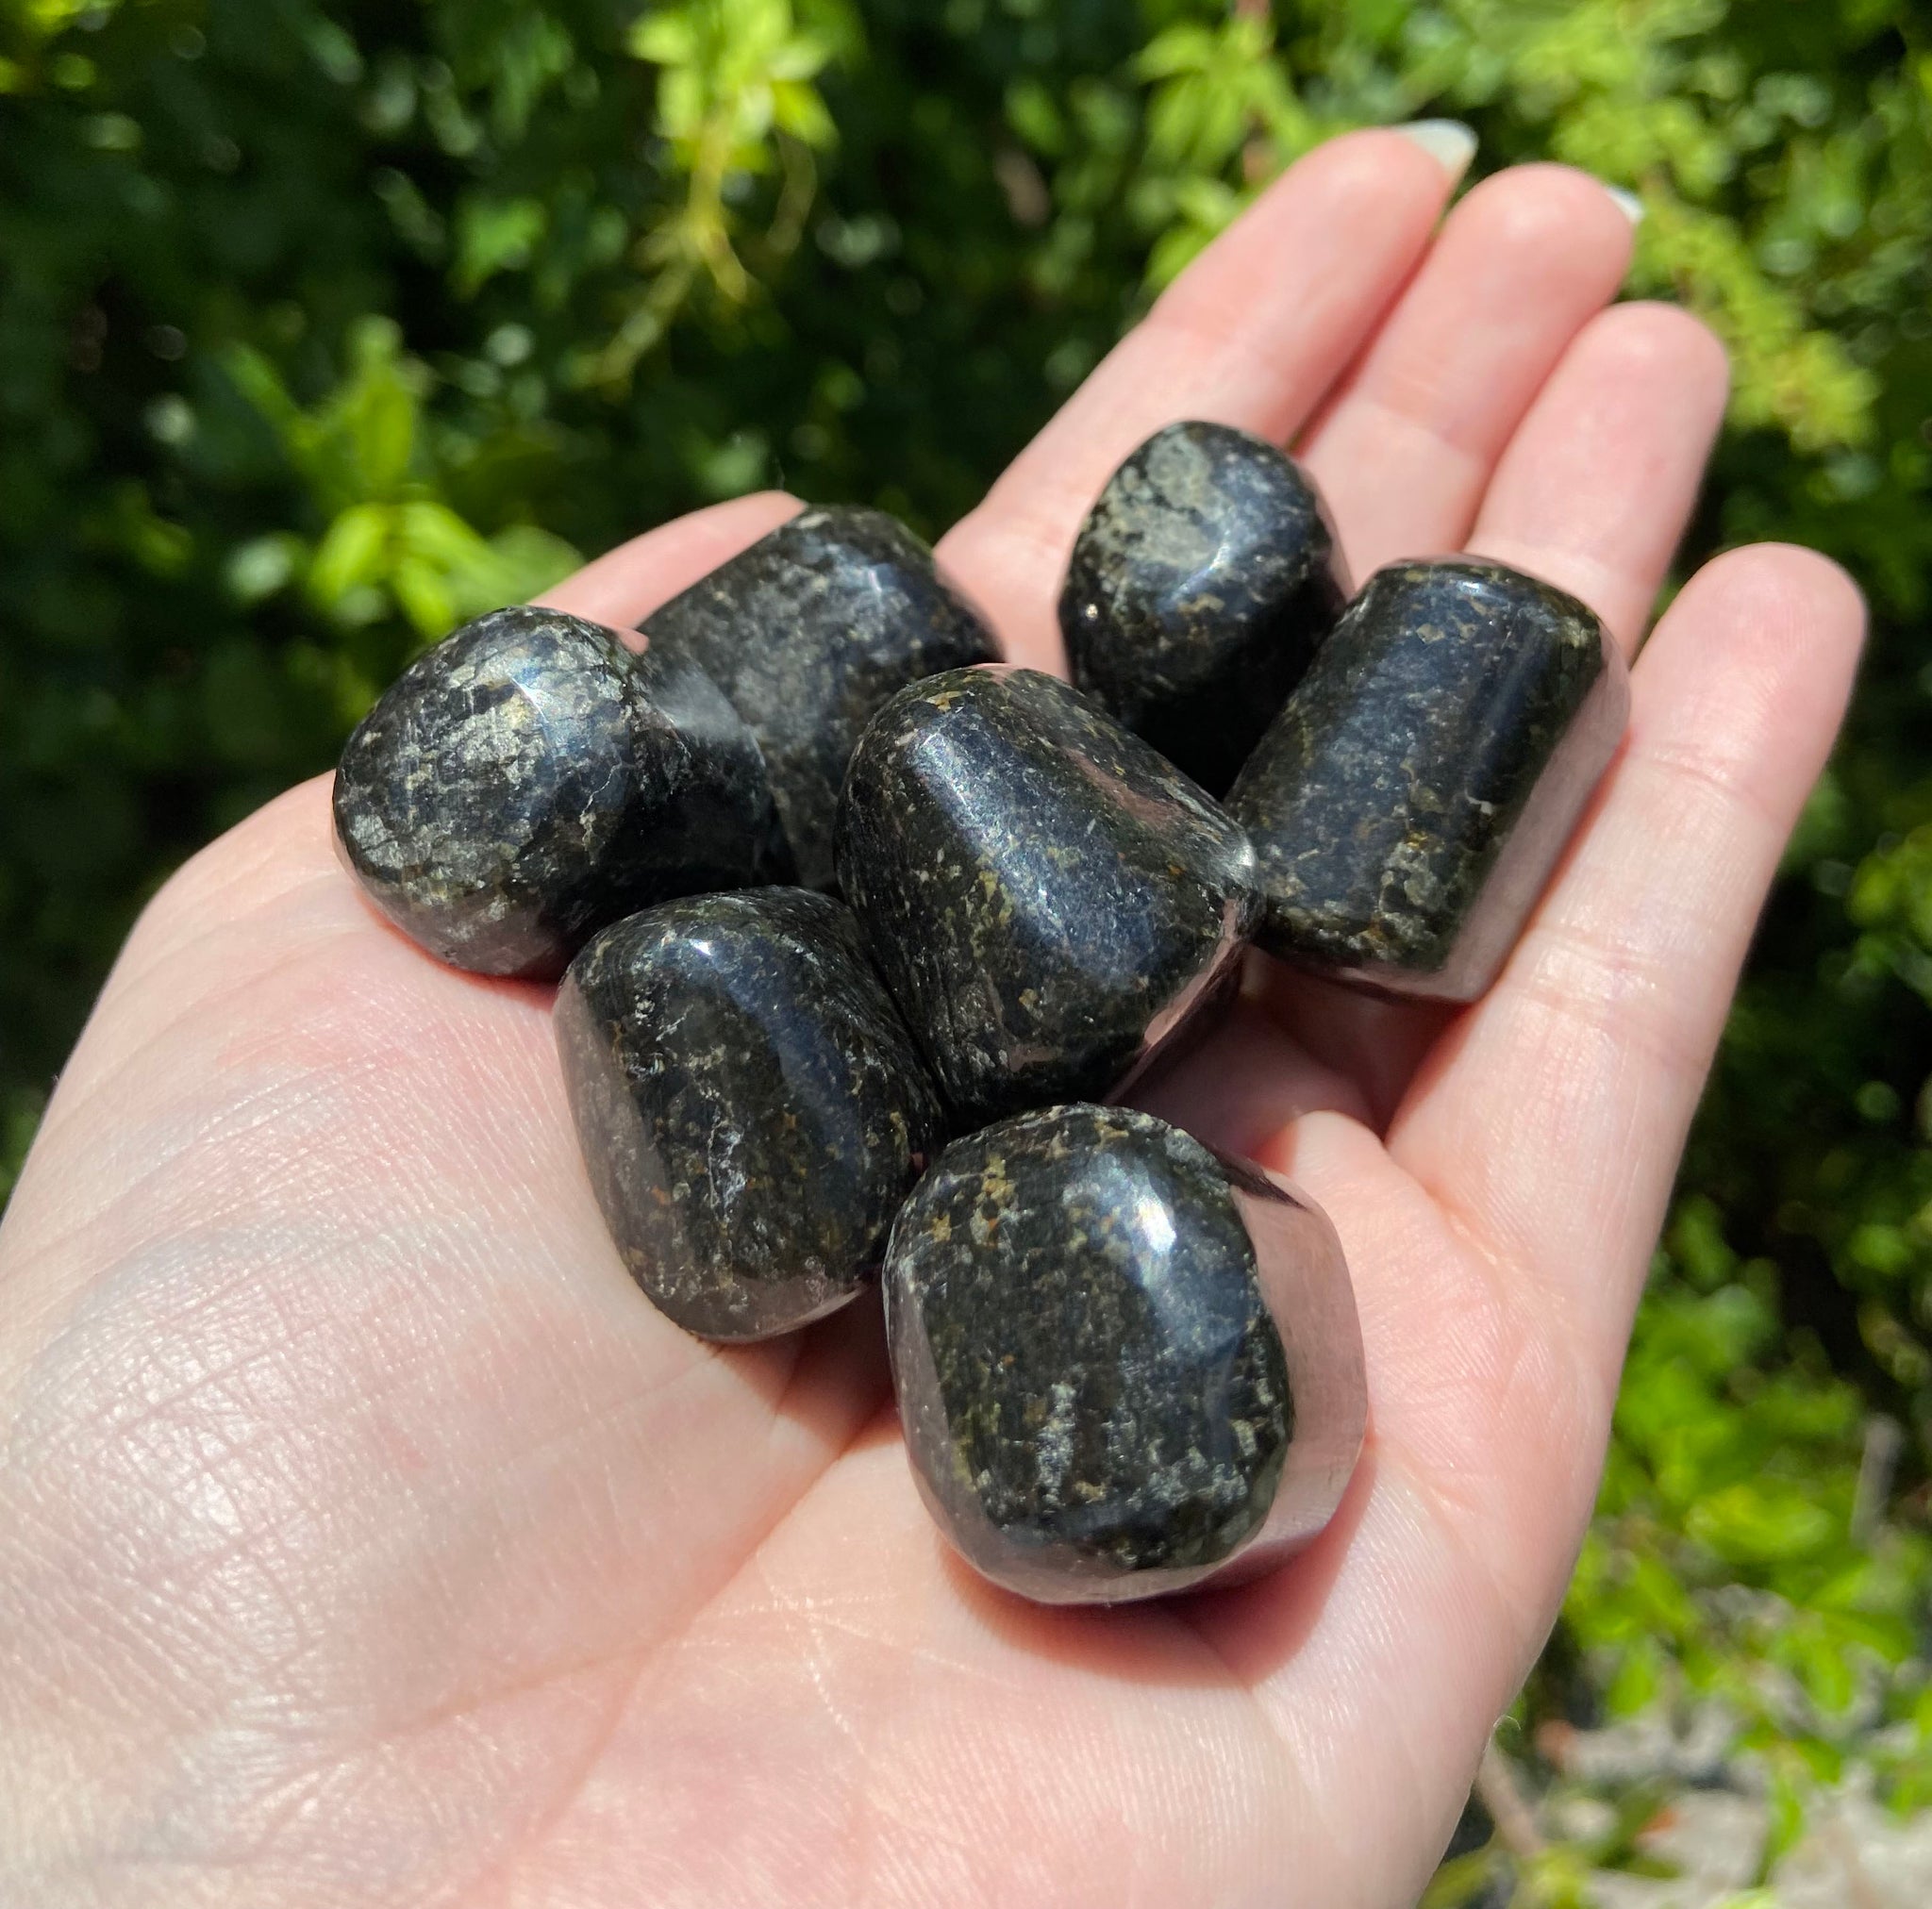
Image credit: https://cdn.shopify.com/
Red Jasper
Red jasper is a stone that brings good luck and fortune. It is linked with the sacral chakra and can help balance and stability in one’s life. Some sources say it’s useful for arthritis, blood disorders, urinary infections and insomnia issues, and physical energy.
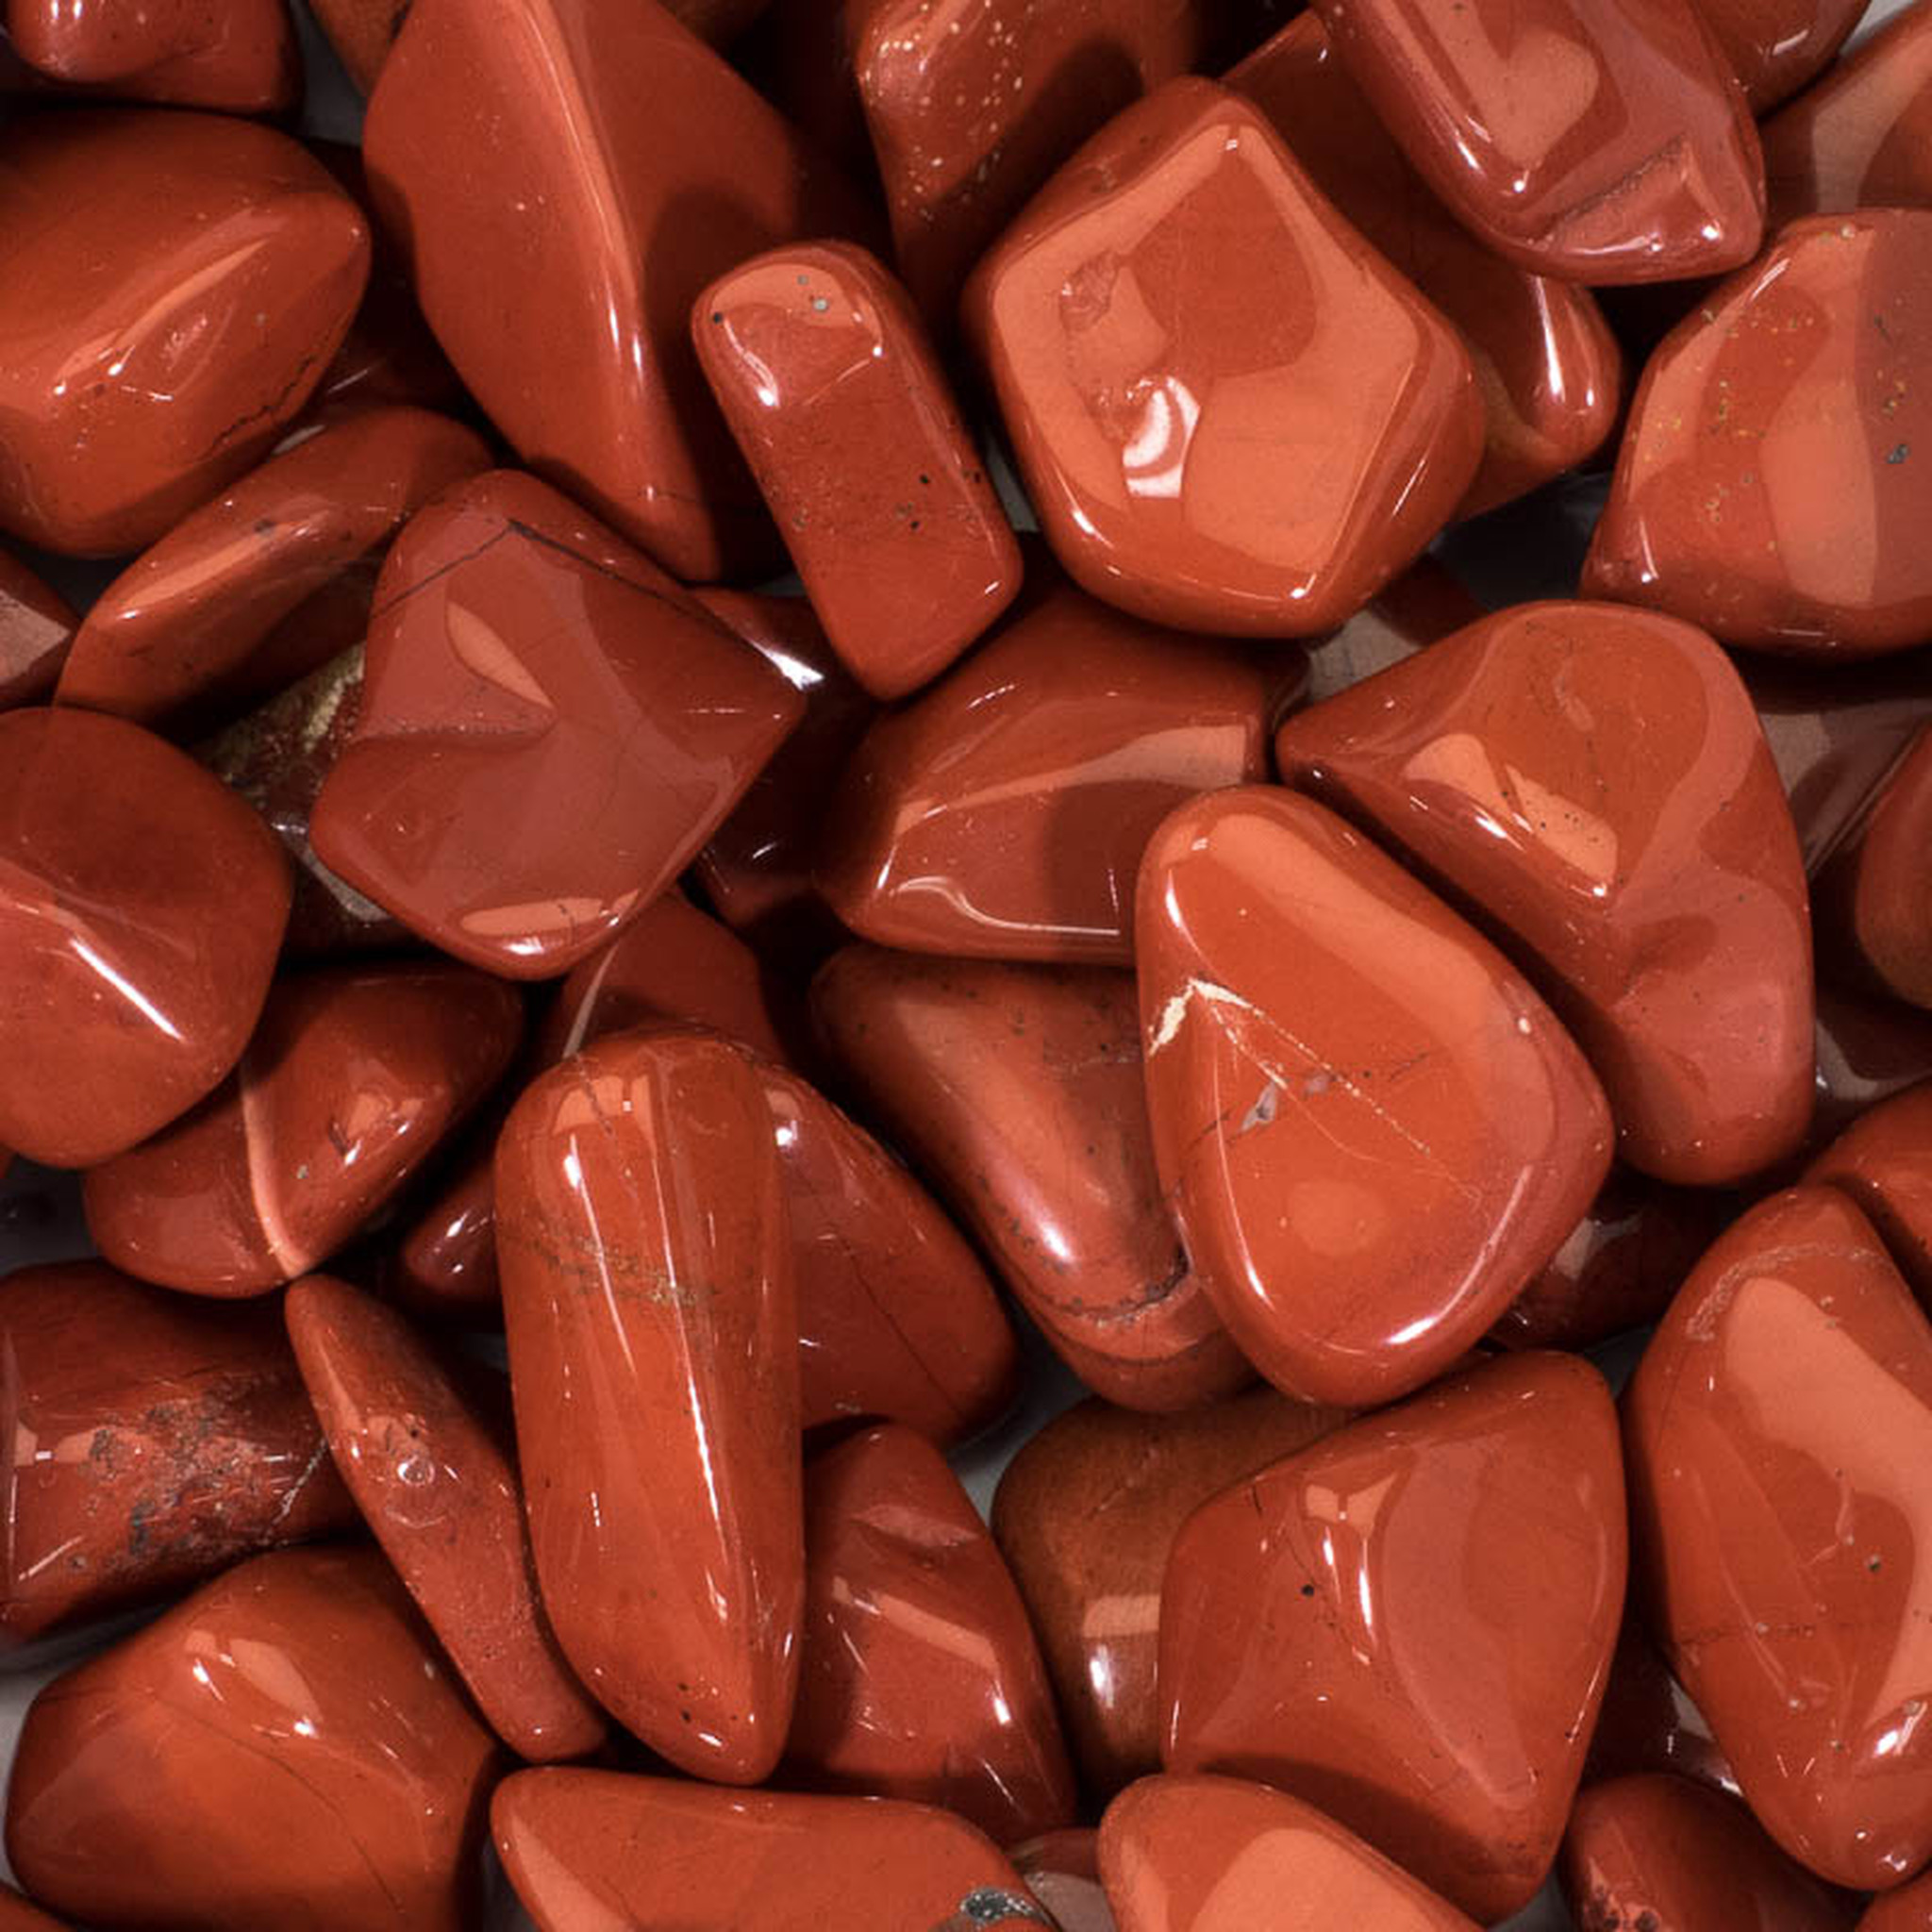
Image credit: https://cdn11.bigcommerce.com/
It’s deep in color and has a strong connection to the earth. It’s a very grounding stone and symbolizes strength and stamina, both emotionally and physically. It’s a great stone to have around when you’re having to deal with challenges to your health and well-being.
Green Jasper
Green jasper is said to be the stone of calm and tranquility. It’s linked with the heart chakra. This energy can bring emotional balance and stability in one’s life and physical benefits such as circulatory and digestive problems. This jasper stone is ideal for anyone experiencing a high level of anxiety.
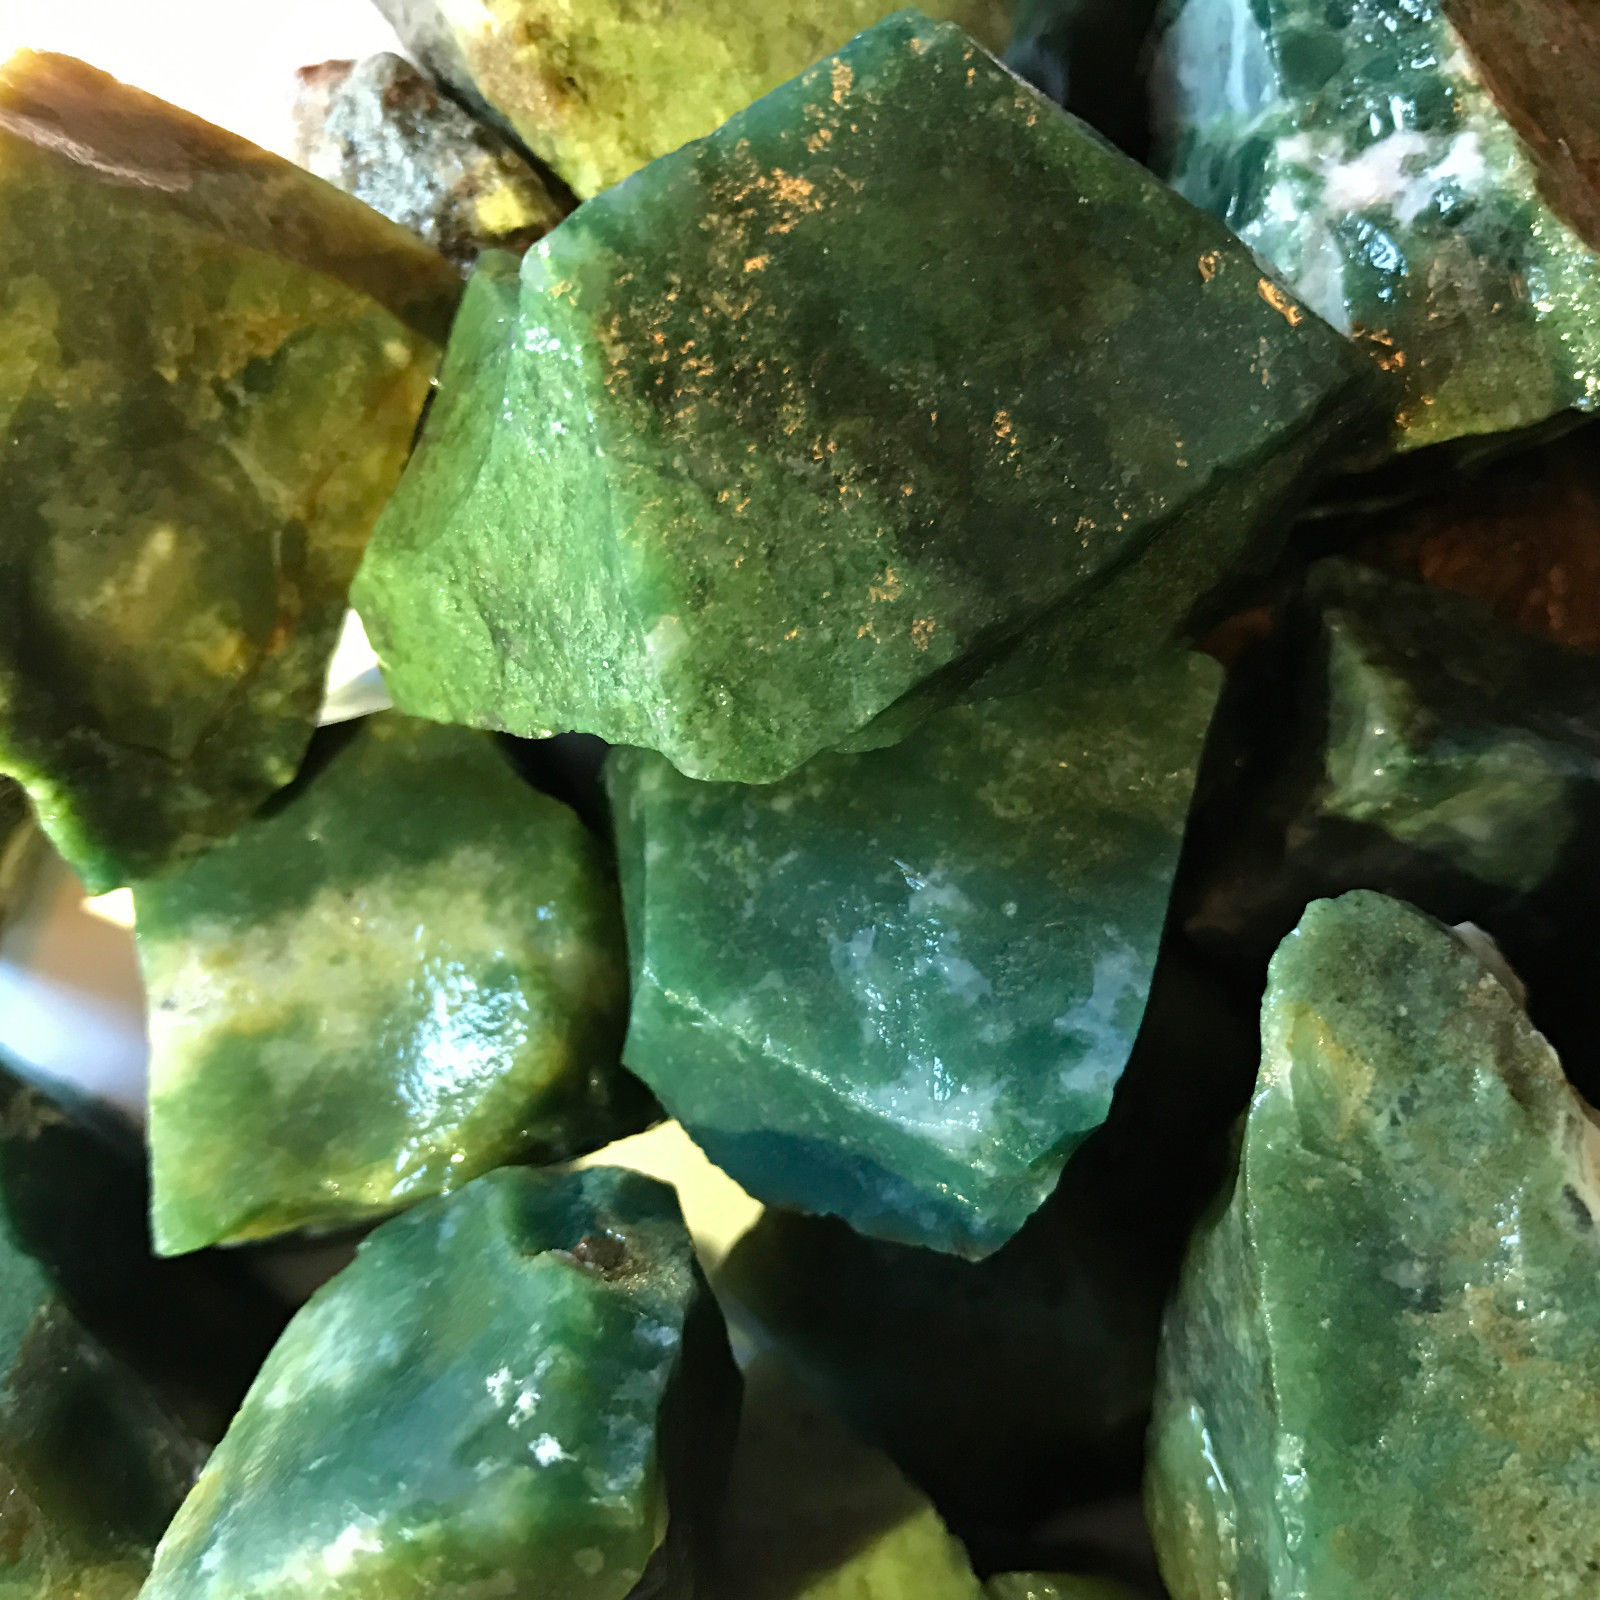
Image credit: https://www.princemusiccompany.com/
Green jasper absorbs all the negativity and is good for anyone with nightmares. You can set a jasper gem beside your bed for relief from paranoia and terrors.
Yellow Jasper
The yellow jasper stone is known as the supreme nurturer. It helps to support stress and anxiety while also promoting self-confidence. This type of jasper is said to be helpful in restoring depleted vitality and energy.
It represents the solar plexus chakra which is the center of the body.Yellow jasper aids disorders of the stomach and digestive system. Plus, it also helps relieve bloating and is effective in the promotion of tissue regeneration.
Brown Jasper
The brown jasper stone is grounding and protective, providing a calm and stabilizing energy. It is said to be helpful for those who have trouble staying in the present, as it brings focus and concentration. It includes some specific formations such as picture jasper, bruneau jasper, and Bat Cave jasper.
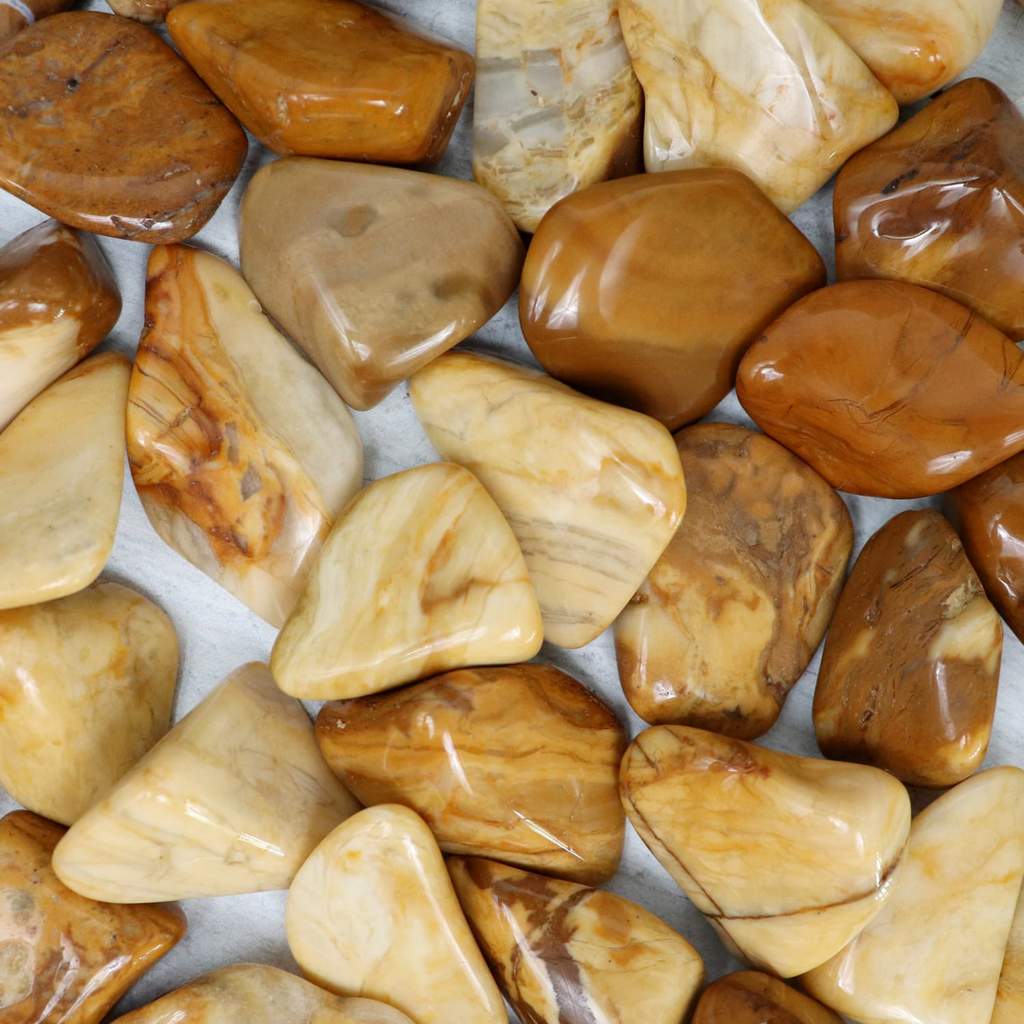
Image credit: https://cdn.shopify.com/
Brown jasper is also known as a stone of health and healing, promoting physical well-being and vitality. It can be used to treat liver, kidneys, and other organ disorders. It helps with tissue regeneration, too.
Blue Jasper
If you’re looking to take a new opportunity and need a confidence boost, blue jasper is the perfect stone for you. Blue jasper has a penetrating, cleansing, and calming energy, making it ideal to motivate and build strength in your convictions.
Having a jasper crystal of this kind when you’re starting a new job or moving to a new city can help give you the power you need to go out and back yourself.
Brecciated Jasper
This type of jasper is known as a stone of strength and vitality. It can be used to promote physical healing and increase energy levels. Brecciated jasper is also thought to help with detoxification, making it a great choice if you’re looking to cleanse your body or boost your immune system.
Brecciated jasper is one of the most dramatic-looking jasper stones. This is because it’s a mixture of creamy red and brown and is also opaque. It’s also veined with a deep gray pattern that can have a striking effect when you look up close.
Zebra Jasper
Zebra jasper is a striped brown and white jasper that also contains black veining. It’s thought to be highly spiritual, helping boost creativity, inspiration, and relaxation.
Zebra jasper can be used for grounding during meditation or journeying because its earthy colors are designed to pull your attention toward the present moment. If you’re looking to restore some balance to your life, try to keep zebra jasper stone in your pocket as you go about your daily life.
Picasso Jasper
Picasso jasper is a brown and beige patterned jasper containing distinctive swirls. It’s thought to be highly protective due to its earthy, grounding energy. Possible metaphysical properties include calming the mind, providing peace, or bringing stability during times of change.
The swirling patterns found in Picasso jasper might symbolize a tornado or a storm. The swirling energy of the stone might sweep away negative, stagnant energy and allow for healthy new energy to come into your life.
Picasso jasper is a very social stone, so if you’re having trouble with friendships or you would like to bring extra positive energy into your life, this is a great bet.
Leopard Skin Jasper
Leopard jasper, also known as jaguar jasper, is named for its distinct spots of stunning color. The jasper crystal is loved for its detoxifying properties and is a favorite for starting a new year off on the right foot. Leopard skin jasper helps you connect with your spiritual animal totem.
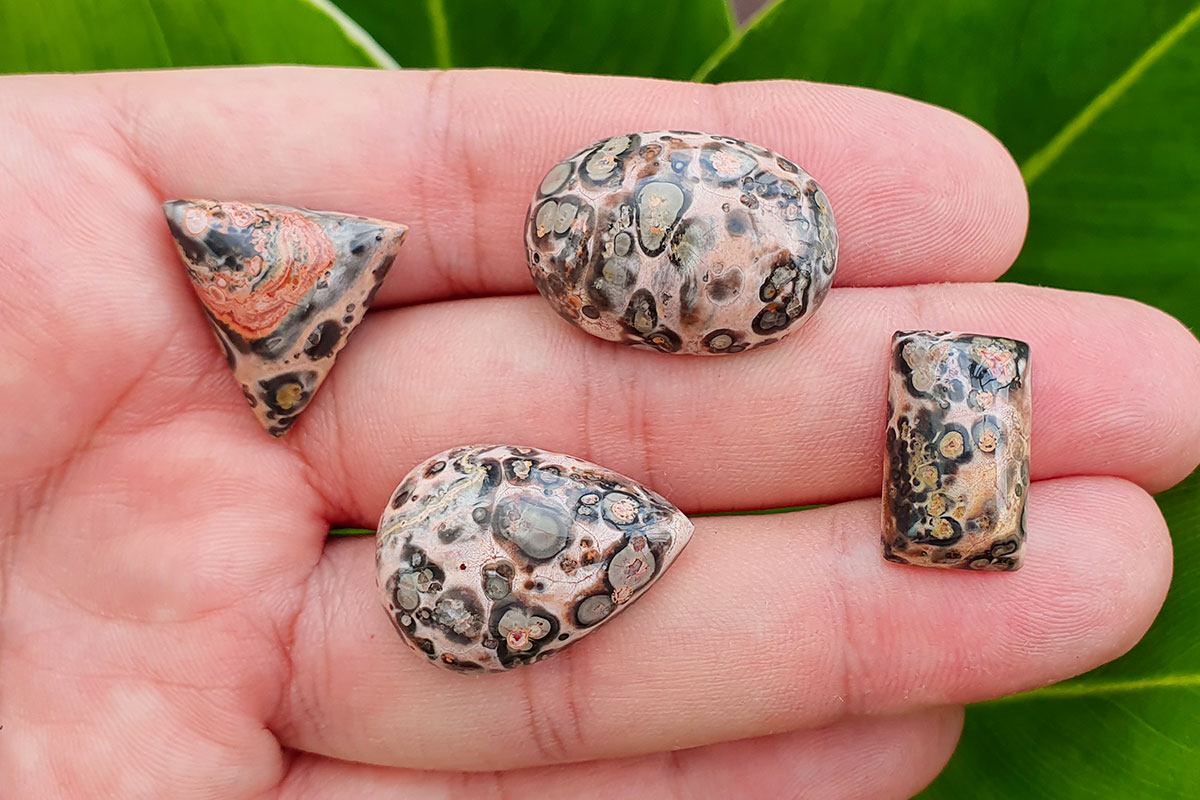
Image credit: https://gem.agency/
It’s associated with spiritual discovery and shaman travel. It’s also helpful in eliminating toxins from the body and decreasing body odor. It also assists in self-healing.
Fancy Jasper
Fancy jasper is like the fairy godmother of the jasper group. It helps lighten the mood and bring joy by absorbing frustration, anger, and guilt. Fancy jasper comes in different colors, including green, red, brown, and yellow, and its protective nature makes it an easy choice for transition periods.
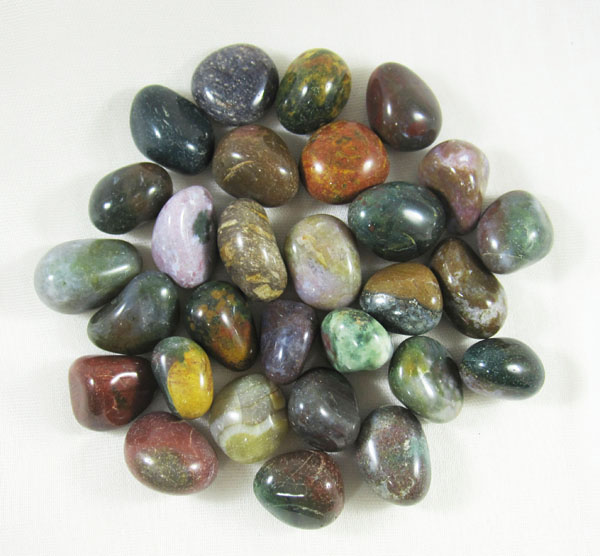
Image credit: https://www.crystals-online.co.uk/
Fancy jasper may also stimulate creativity and self-discipline while encouraging rational thinking. Physically, this jasper stone is thought to rid the blood of toxins and offer protection from pollution and radiation.
Ocean Jasper
Also known as an orbicular jasper, ocean jasper is a type of jasper found only near the ocean. It is known for its beautiful orbs and swirls of color, which are created by spiritual energy. Like other types of jasper, ocean jasper is thought to have a number of benefits spiritually, emotionally, and physically.

Image credit: https://i.etsystatic.com/
Spiritually, this jasper is thought to help connect with the spiritual world and provide guidance during times of change. It is also said to be a protective stone, helping to keep negative energy at bay. Emotionally, ocean jasper is a calming and nurturing stone, providing support during difficult times.
It is thought to help detoxify the body and boost the immune system physically. If you’re looking for a stone that can help connect you with the spiritual world, provide guidance during times of change, and offer protection from negative energy, orbicular jasper may be the right choice for you.
Poppy Jasper
This stone is a great all-around choice for those looking to add some Jasper to their collection. It is easily recognizable due to its bright mix of colors and is said to affect the emotional health of the wearer positively. This jasper is also thought to help detoxify the body and boost the immune system.
A joyful stone associated with poppies and remembrance, poppy jasper brings cheerfulness and vitality, reminding humanity to help one another. This stone can be gently stimulating or fiery in passion and intensity as needed. It provides an impetus for a variety of new experiences and encourages the development of new ideas.
FAQs on the Meaning of Jasper Stone
What color is jasper in the Bible?
Jasper is usually associated with brown, yellow, and reddish colors. However, it may describe other opaque colors of Chalcedony, such as dark or mottled green, orange, and black.
What is special about jasper?
Jasper is home to incredible features, including Mount Columbia, Alberta’s tallest mountain, Maligne lake, the second-largest glacial lake in the world, and diverse wildlife, including grizzly and black bears and mountain goats wolverines, elk, and bighorn sheep.
Final Thought on the Meaning of Jasper Stone
Whether you’re looking for something pretty to hang around your neck or wouldn’t mind a little help in the grounding department, jasper stone may be the one for you. This is a powerful addition to any jewelry box.
The post What Is the Meaning of Jasper Stone? appeared first on Kitchen Infinity.
Did you miss our previous article…
https://www.centrecountyfood.org/?p=845