Peat moss is a natural growing medium with many applications, but it can be hard to know how to use it in your garden. But what exactly is peat moss? How does it differ from other types of soil or mulch?
This guide covers everything from the types of peat moss available to how much water each type holds. We’ll cover everything from planting trees and shrubs with peat moss as a potting medium or using it as alternative mulch material in vegetable gardens. You’ll also find out which kinds of plants grow best when grown directly in peat moss without any additional soil mixed into the mix. Let’s get started!
What Is Peat Moss?
Peat moss is a soil amendment that is harvested from peat bogs. Many of these peat bogs are found in wet areas of Canada. Peat bogs are formed over a long period as organic materials partially decompose.

Image credit: https://www.gardeningknowhow.com/
Although sometimes referred to as peat, peat moss and peat are not the same things. Peat moss is one of the products harvested from peat bogs. Other types of peat moss come from the partial decomposition of other organic materials. If you know how to make compost then you must know this type of peat moss. The moss in peat moss refers to sphagnum moss.
Where Does Peat Moss Come From?
Peat moss comes from your flower pot or garden from wetlands or bogs. It’s not decomposed material because the surface of the blogs doesn’t allow oxygen and air to filter underground. This makes the fibers of the sphagnum moss remain intact.
Types of Peat Moss
Sphagnum Peat Moss
The most commonly used type of peat moss is sphagnum peat moss. Sphagnum peat moss has a high ability to absorb moisture and holds ten times its dry weight in water. After it’s harvested and dried, sphagnum peat moss is light in color, making it retain 10-12 times its weight in water.
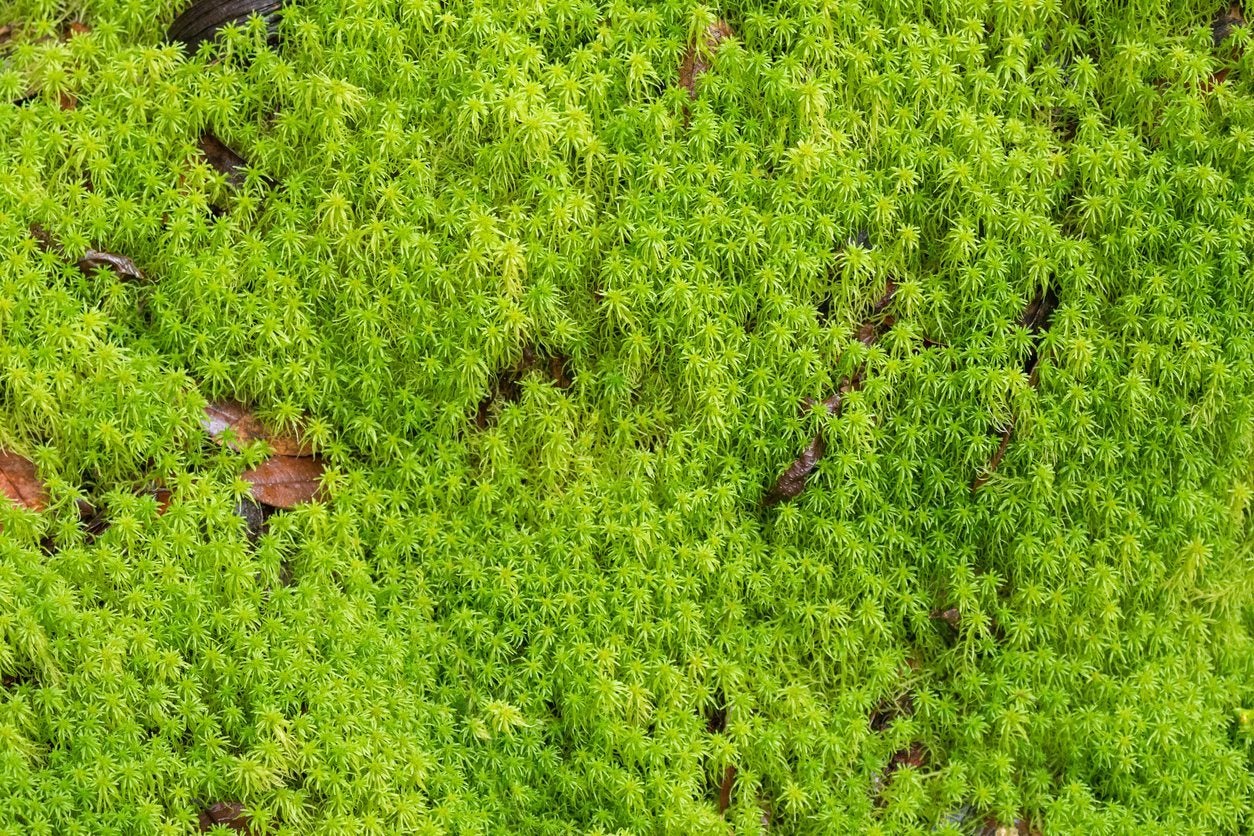
Image credit: https://www.gardeningknowhow.com/
Don’t confuse sphagnum peat moss with sphagnum moss, even if their names are similar. Sphagnum moss refers to the plant material harvested when still alive and growing above water. The end product is the light, fibrous material often used to decorate line wire baskets.
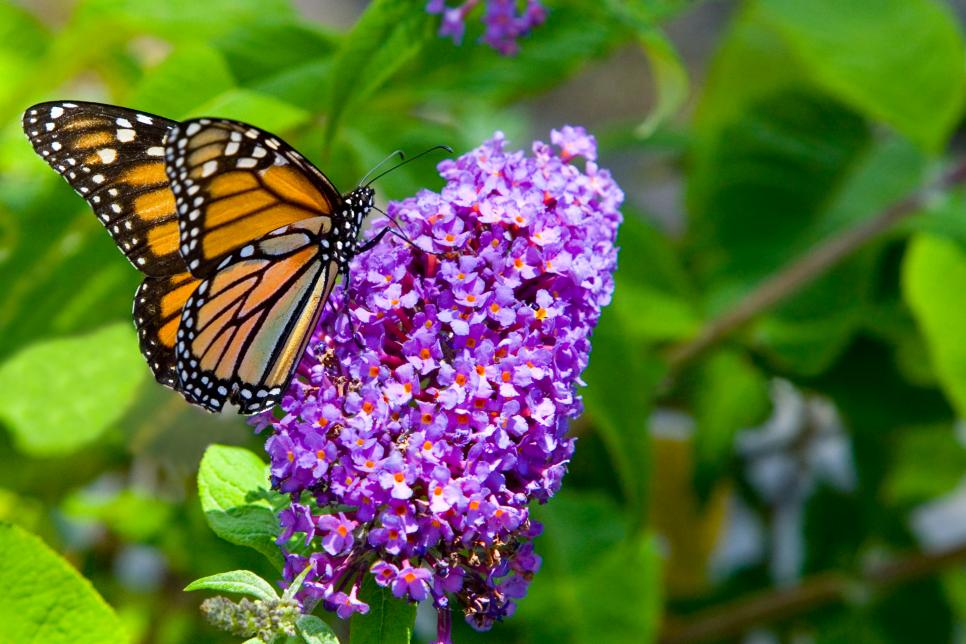
This is an important type of peat because it has high nutrient content, making it useful in growing orchids because orchids like organic material in their soil. It’s also used for potted flowering plants and nurseries that produce bedding plants. It’s a little more acidic than sphagnum peat moss and holds more water.
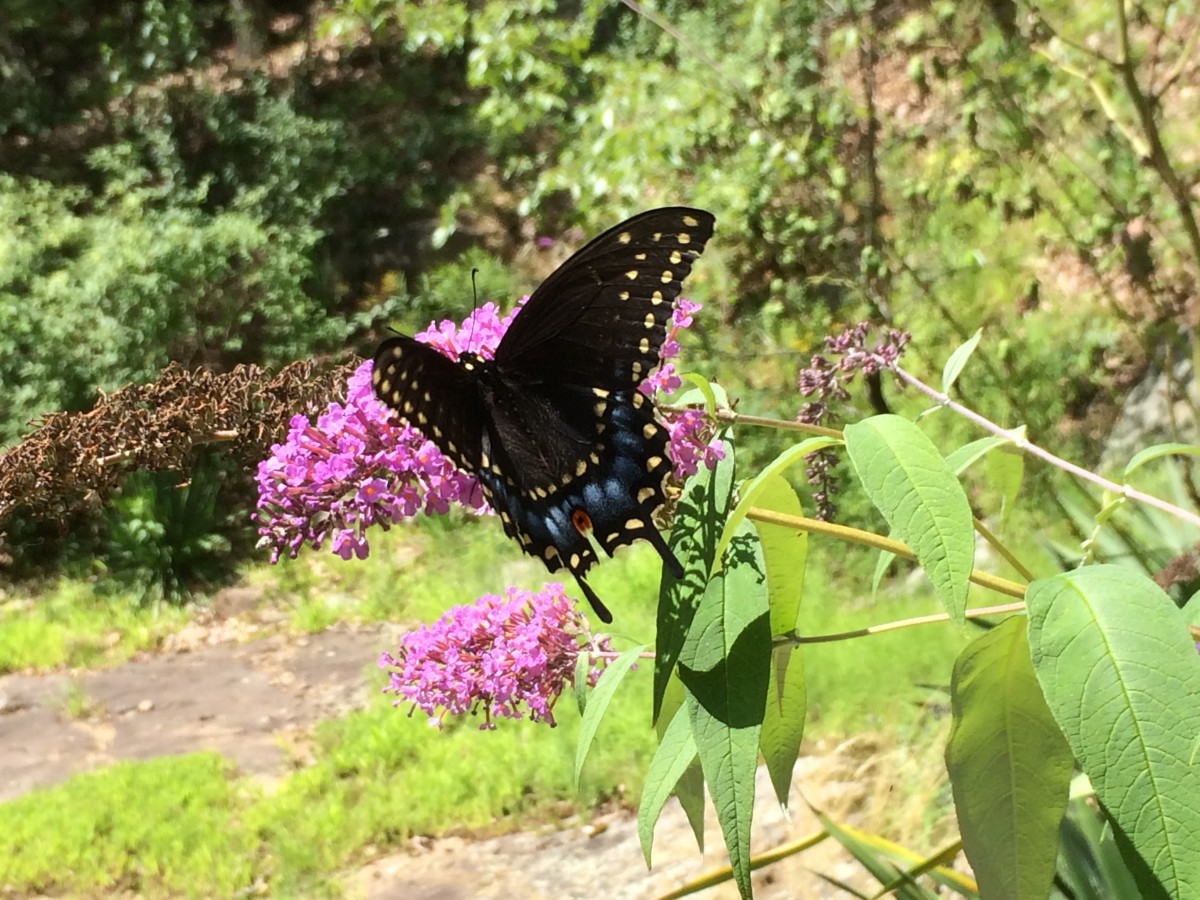
Black peat is harvested differently than sphagnum peat moss in a way that preserves the living plant. It’s cut from Sphagnum bogs in Canada and is probably black because of its high carbon content. It requires more processing before it’s sold but has less dust and fewer contaminants than brown peat moss.
History of Peat Moss
Peat was dried and used as a source of fuel in some countries for centuries. This is because it’s rich in carbon dioxide, just like other fossil fuels. It was until the 1940s that peat had a place in horticulture. Today, it’s used as a soil amendment, soilless mix, seed starting, and mushroom casting.
vailability of Peat Moss
Peat mosses are commonly found in bogs and wetlands of the earth’s northern hemisphere. It’s sold in gardening stores, online, hardware stores, and even supermarkets.
Mining Peat Moss
Before peat moss becomes a useful gardening product, it must be harvested by digging the ground and recomposing the bog’s ecosystem. When it comes to mining peat moss, the process is as follows:
Dig a network of ditches along the peatland to drain the water. Second, remove the native vegetation to get the peat exposed. Third, level the harvest to prevent drainage of the surface runoff. Fourth, harrow the top layer to speed up the drying process of peats. Fifth, suck up the dry peat layer using a large vacuum harvester.
Lastly, the harvested peats will be transported to a processing firm for cleaning, drying, and screening into different labels and packaging.
Pros of Peat Moss
Sterile
Peat moss has a natural ability to kill weed seeds and insects. When peat moss is added to the soil, it leaves no chance for mosquitoes and larvae to grow in your garden. This attribute can be very important if you want to avoid diseases such as malaria.
Cleanliness
Most of the growing materials are not clean. However, that’s not the case with peat moss. If you drop some wet moss, pick it up, get it dried or sweep it up.
Moisture Retention
Peat moss is believed to retain water for longer than other composts. This means that you will need less watering of your plants during dry seasons.
Peat Moss Has Slightly Acidic pH
Peat moss has a pH of 4.9 to 6.5, slightly acidic. This makes it better for soil mix because the acidity helps break down other compounds in the soil. This also makes it a good corrector, especially with plants that cannot stand alkaline soil.
It’s Fully Organic
If you are looking for an organic material to improve the content of your soil, using peat moss is a good option. It comes from bogs and is fully natural. The best part is that it’s now harvested at its optimal stage, further adding that this is an organic ingredient. Also, quarrying and transportation do burn a lot of fossil fuels, so if it’s produced organically, it’s not harvested and delivered organically.
Peat Moss Doesn’t Compact
Even though peat moss absorbs water well, it doesn’t compact, unlike soil. Compaction makes it hard to create space for the water and air to pass through. But if you add peat moss to any compact material, you’ll have solved the compaction problem and made the growing mix drain better.
The Drawbacks of Peat Moss
Poor in Nutrients
Some growers consider peat moss to be nutrient-poor. It doesn’t contain much nitrogen, potassium, or phosphorus, but it does have calcium and magnesium, which are essential nutrients for the growth of cannabis plants. Unlike other organic materials such as manure compost, peat moss is very poor in nutrients.
Dryness Issue
Since peat moss is very dry, it’s not 100% suitable for soil. It can be combined with other organic materials to improve the water retention capacity of your growing medium. When starting seeds with peat moss alone, ensure they get enough moisture. It’s also good to mix it with soils and some other soilless media.
Non-Renewable Resource
Peat bogs are made up of wetland plants accumulating for thousands of years. They are only found in areas where the average annual temperature is lower than 64 degrees F (18C). Peat moss from North America or Canada comes from old-growth forests. In other words, it’s a non-renewable resource that has to be harvested. This is not the case for peat moss harvested in Ireland or Scotland. Their bogs are managed wetland areas that grow peat moss yearly, so they can be harvested without causing permanent damage.
Peat Moss is Expensive
Peat moss exceeds the price of comparable mediums such as coconut coir. If you use it in bulk and the price is an issue, a better alternative is compost.
How to Use Peat Moss in the Garden
Soil Amendment
Peat moss is available in several grades, with different particle sizes. The larger the particles are, the more expensive it is. Use peat moss as a soil amendment to lighten heavy soils and increase water retention. For clay and heavy soils that get compact easily, it softens the soil structure and improves the drainage.
Peat moss helps retain moisture and nutrients for plant roots for sandy soil. If you intend to use it as a soil amendment, you should know that it changes soil pH levels. Ensure you measure and watch out if the pH level drifts too much by testing the soil pH
Hydroponic Growing
Peat moss is used in hydroponic systems because it creates a soil and nutrient solution barrier. This layer increases the stability of the system, keeping the plant roots away from harmful products that are designed to kill them.
People using it use it with other growing media like perlite and vermiculite to balance the moisture and aeration. When using peat moss for pure hydroponic growing, you should know some facts about it’s not appropriate.
Because it’s an organic matter, if provided with plenty of oxygen and nitrogen, it will start to decompose, making the material compress around plant roots and choke off your plants. So, better mix it with other materials.
Seed Starting
Peat moss is often used as a base layer to germinate and grow plants like vegetables and flowers. It provides aeration to the root zone, and it’s very easy to use for newcomers in hydroponics. When using peat moss for seed starting, you also need special trays with drain holes on the bottom because if you don’t, the peat moss will expand and block the water flow out of your seedling flat.
For this purpose, use the peat moss alone or in a mixture with some soils. You can also remove the hassle by getting the peat pellets sold on the market. Many people also prefer a soilless mix of peat moss, perlite, coconut coir, and others in different amounts. This prevents diseases, fungi, bacteria, weed seeds, and other bad things commonly found in the soil.
Peat Moss for Plant Transplants
Using peat moss granules is also the best way to transplant young trees and big plants. It can be easily handled since it is lightweight; you can use it with other components like the potting mix but make sure not to include any fertilizers or pesticides.
Image credit: https://www.gardeningknowhow.com/
It provides nooks and crannies where new, tender roots can grow. Peat moss also keeps humidity high, essential when plants have a new home. It also corrects the acidity of the soil and breaks down the consistency and texture of the soil, especially if it’s clay soil.
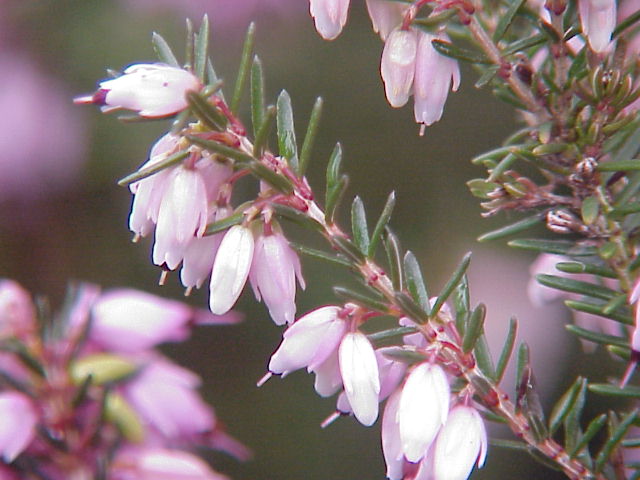
Growing Acid-Loving Plants
Peat moss is also used to grow plants that prefer soil with low pHs, such as rhododendrons, gardenias, heathers, tomatoes, Pieris, azaleas, and camellias. These plants need a peat moss mixture for their acidic soil. When combined with the correct potting mix, these plants enjoy having an environment where they can take up essential nutrients from the soil and conserve water.
Peat Moss Alternatives
Compost
Compost can be used as peat moss alternatives. These are usually less expensive but do not have the pH balancing effects of peat moss, therefore it should be used in conjunction with other ingredients to create the correct balance for acid-loving plants.
Compost is made from decayed organic materials like rotted plants, leaves, vegetable scraps, and animal manures. It has a lot of commonalities with compost peat, like excellent water holding capacity and great material for soil amendment.
Compost is cheaper than peat moss and fully sustainable in that you can easily make your own. On the other hand, compost won’t last long like peat moss, and you’ll have to add compost regularly. And lastly, compost will compact faster and easier than peat moss, but to have a comparable effect, you can add sand, shells, and eggshells to the soil to improve its texture.
Perlite
Perlite is a volcanic rock heated and expanded with steam to produce a fine white, shiny-type growing medium, which lets good drainage and aeration of the roots. It is also widely used as an additive for potting soil or seed starting mixes as it helps increase the porosity of the root environment.
It provides an excellent oxygen supply to plant roots and will not compact under heavyweight. Perlite is a good natural drainage layer for the bottom of your containers, and it will also help prevent any root rot problems that can occur from sitting water in the bottom of the container.
Coco Coir or Coco Fiber
Coco coir is the partially processed fiber of the coconut husk. It’s sold compressed into bricks or blocks or in a loose form that can be expanded by adding water. Coco produces excellent drainage and aeration qualities with good retention properties.
Coco provides an ideal air to water ratio – twice as much air space compared to water-holding capacity. Coco coir is a sustainable resource that has been used for centuries to protect the health of natural shorelines and reefs. It’s highly resistant to insect, microbial, and mold attacks, making it perfect as a growing medium for both hydroponics and soil applications.
Vermiculite
Vermiculite is a naturally occurring mineral heated to expand it into wormlike particles that absorb moisture and provide aeration. Vermiculite provides the nutritional requirements of plants while allowing for excellent drainage and aeration qualities.
Organic Matter
Organic matter is what makes the nutrients in your soil available to plants. It increases the number of good, healthy microorganisms in your soil by providing them with food and habitat. Organic matter also absorbs water during irrigation, reducing runoff.
What’s more, organic matter improves porosity in your soil by opening tiny spaces between soil particles for air and water, giving your plants room to grow.
Sand as Peat Moss Alternative
Sand has very coarse particles that do not release nutrients to plants easily. It does not change the pH of your soil, but it also doesn’t hold nutrients well, so adding sand on top of a peat moss/vermiculite mix is not ideal. Sand may be preferable if you are planting trees or other plants that don’t need consistent nutrients.
FAQs on Peat Moss
What is wrong with using peat moss?
Peat moss is not a natural substance. It is the partially decayed remains of plants that have been harvested from peat bogs and mires, an ecosystem formed by the incomplete decomposition of organic matter in wetlands. Peat bogs are fragile habitats that take thousands of years to form.
When should you use peat moss in your garden?
You should use peat moss as a soil amendment or potting mix, especially when growing fruits and vegetables such as tomatoes, blueberries, and camellias which are acid-loving plants.
Final Thought on Peat Moss
There you have it. Peat moss is harvested from bogs or mires and is used in planting or potting soil mixes for acid-loving plants. Peat moss is not a natural garden soil ingredient, but it will help your garden grow lovely flowers and delicious foods.
The post Peat Moss: What It Is and How To Use It appeared first on Kitchen Infinity.