The English Cottage style is a popular home design that many people love. This is because the cozy English cottage design style will make your home feel rustic and closer to nature than ever before. However, it can be difficult to find the right one for you. There are so many different types of English cottage house plans, and they all have unique features.
It’s hard to know which ones will work best for your needs. We’ve done some research on this topic and put together a list of the most common types of English cottage house plans below. You’ll learn what makes each type special and how you can incorporate them into your home design project.
What is English Cottage Design?
English cottage design blends antique and architecture to recreate the look and feel of a quaint home in the English countryside. English country homes are warm, comfortable, and inviting. The English cottage house plans are characterized by extensive gardens, thatched roofs, and rustic interiors full of wood and character-filled antique furniture.

Image credit: https://www.thespruce.com/
Characteristics of Cottages
Though there are some differences depending on the region of origin, English cottage house plans have a number of things in common. These include:
False-Thatched Roofing
This is the perfect alternative to the traditional thatched roof. False-Thatch is an insulated, fire retardant roofing material with a natural appearance of thatch. False-Thatched Roofing is made in many styles and colors to suit all properties.
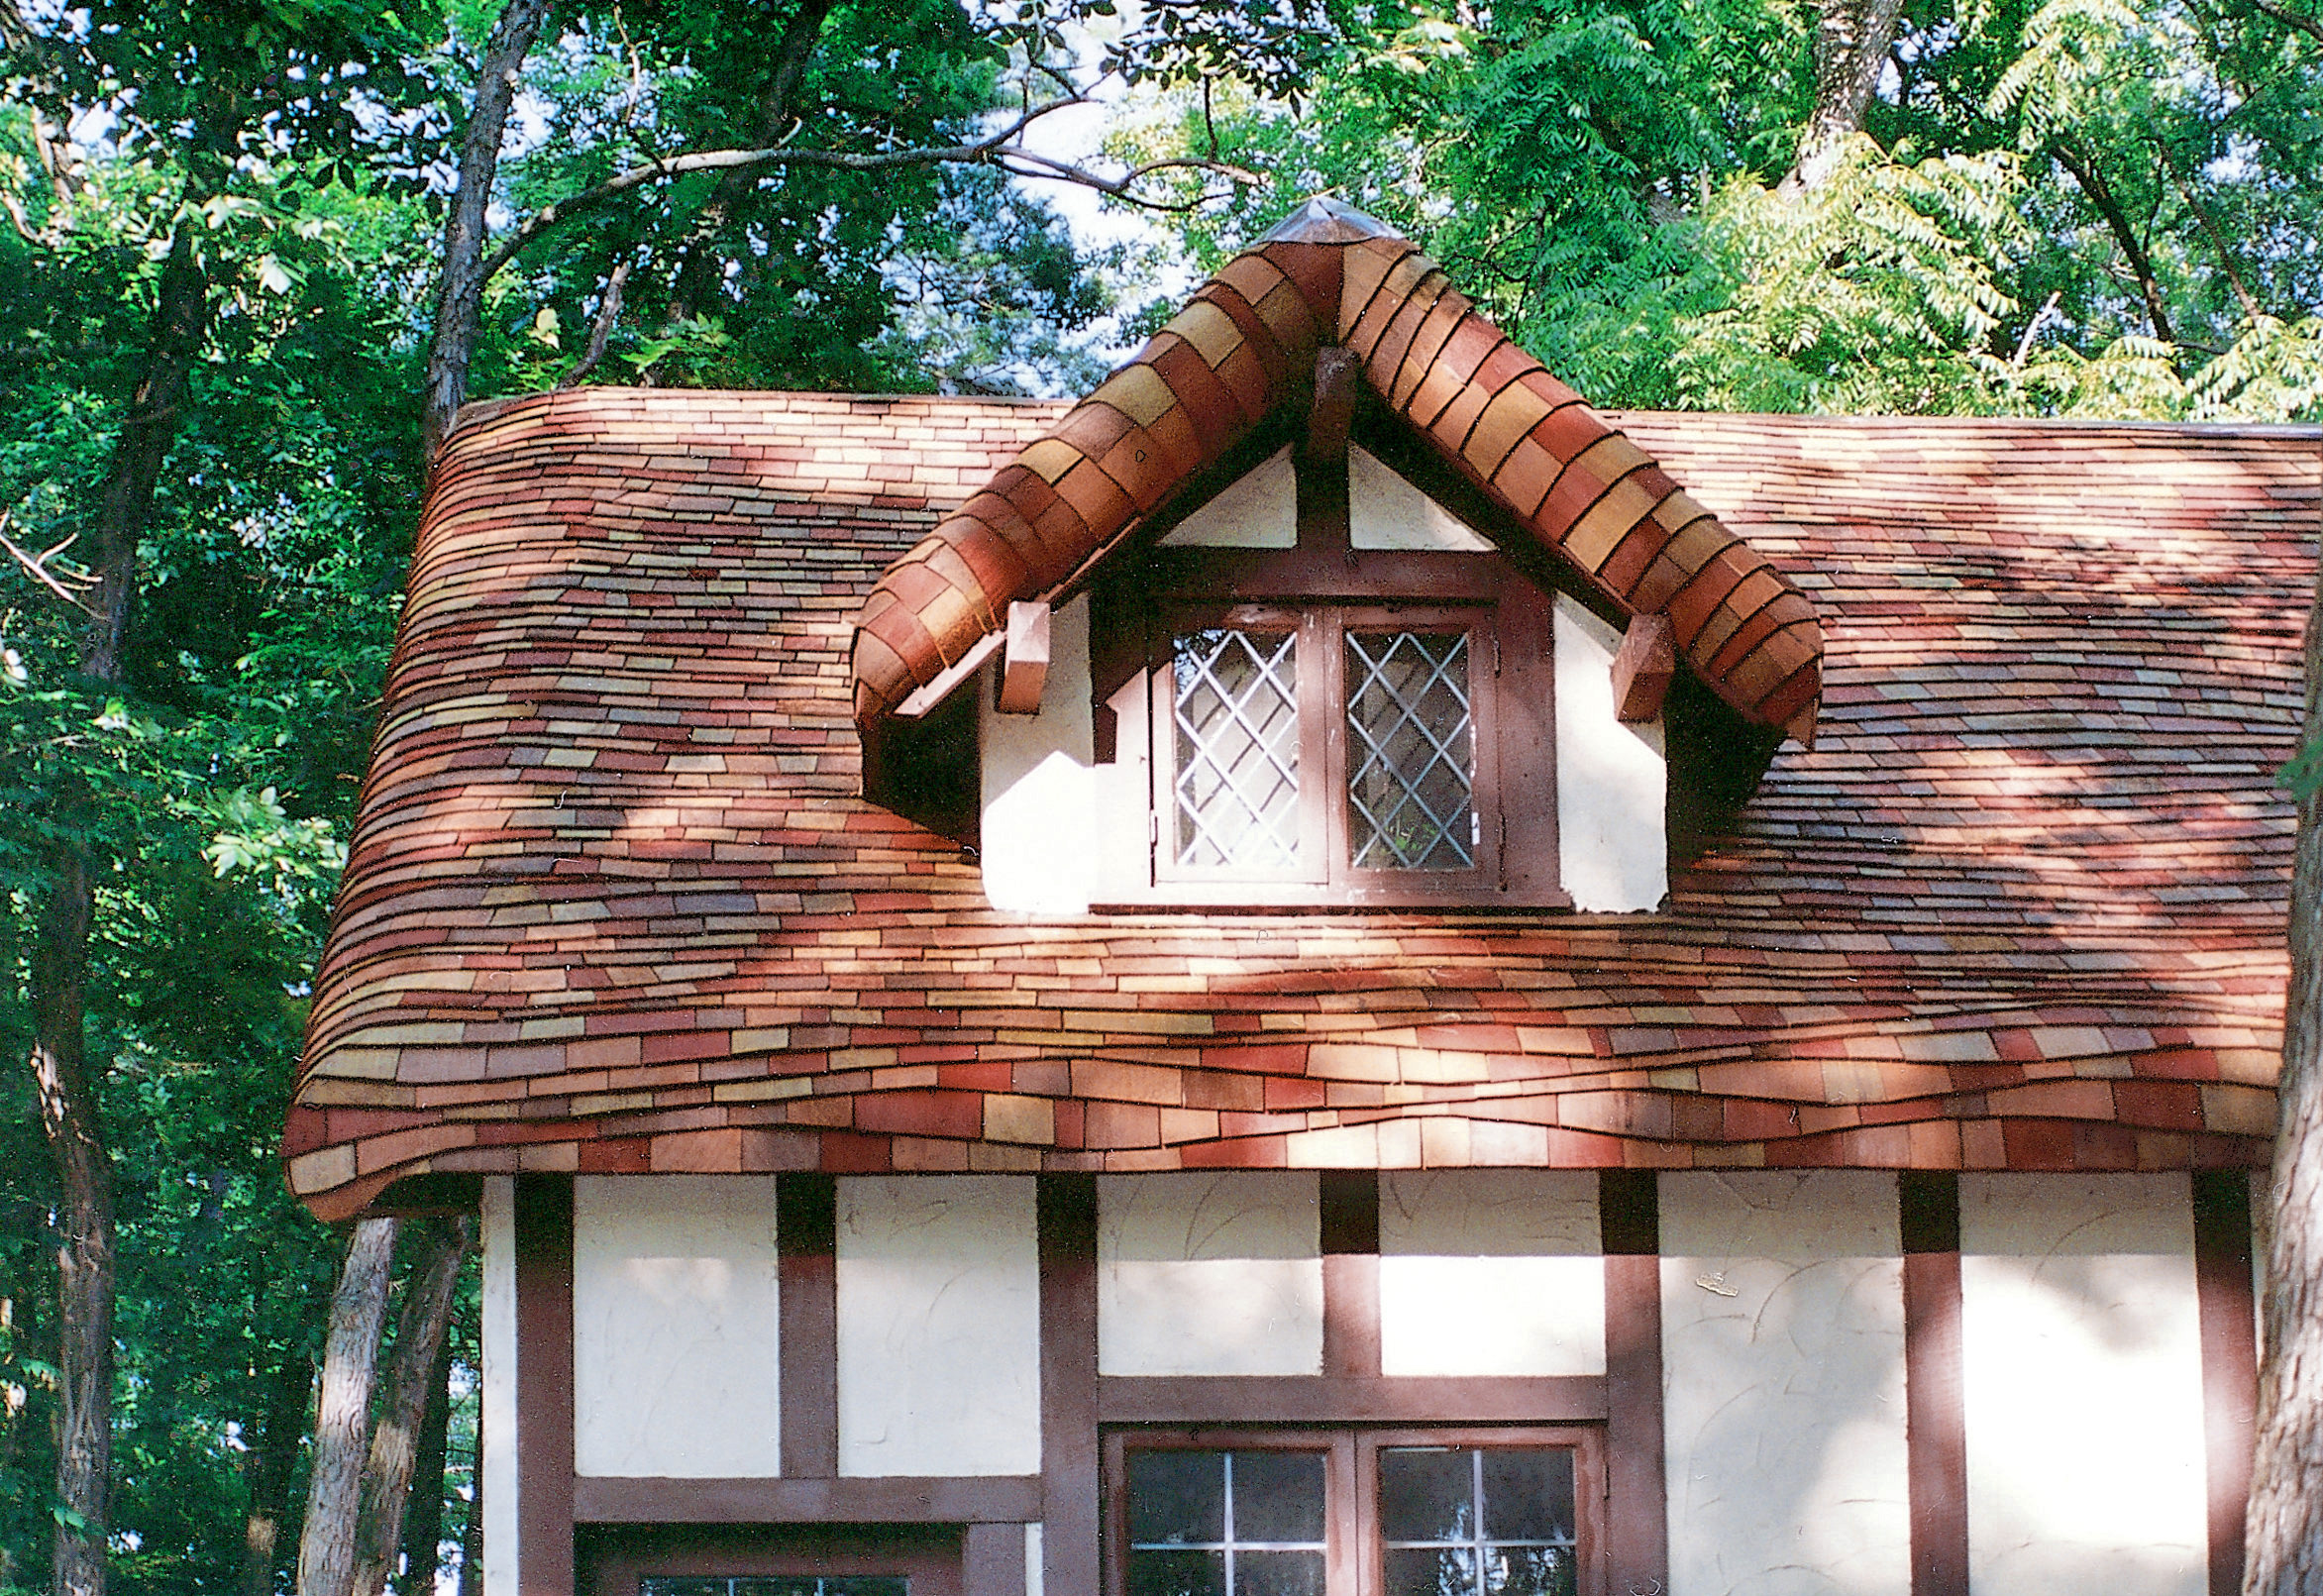
Image credit: https://images.squarespace-cdn.com/
It didn’t take long for people to realize that False-Thatch was indistinguishable from thatch in appearance, durability and that it could cost up to 40% less. It is made of modern materials such as steamed wood shingles, and composition roofing is rolled around eaves, resembling thatch.
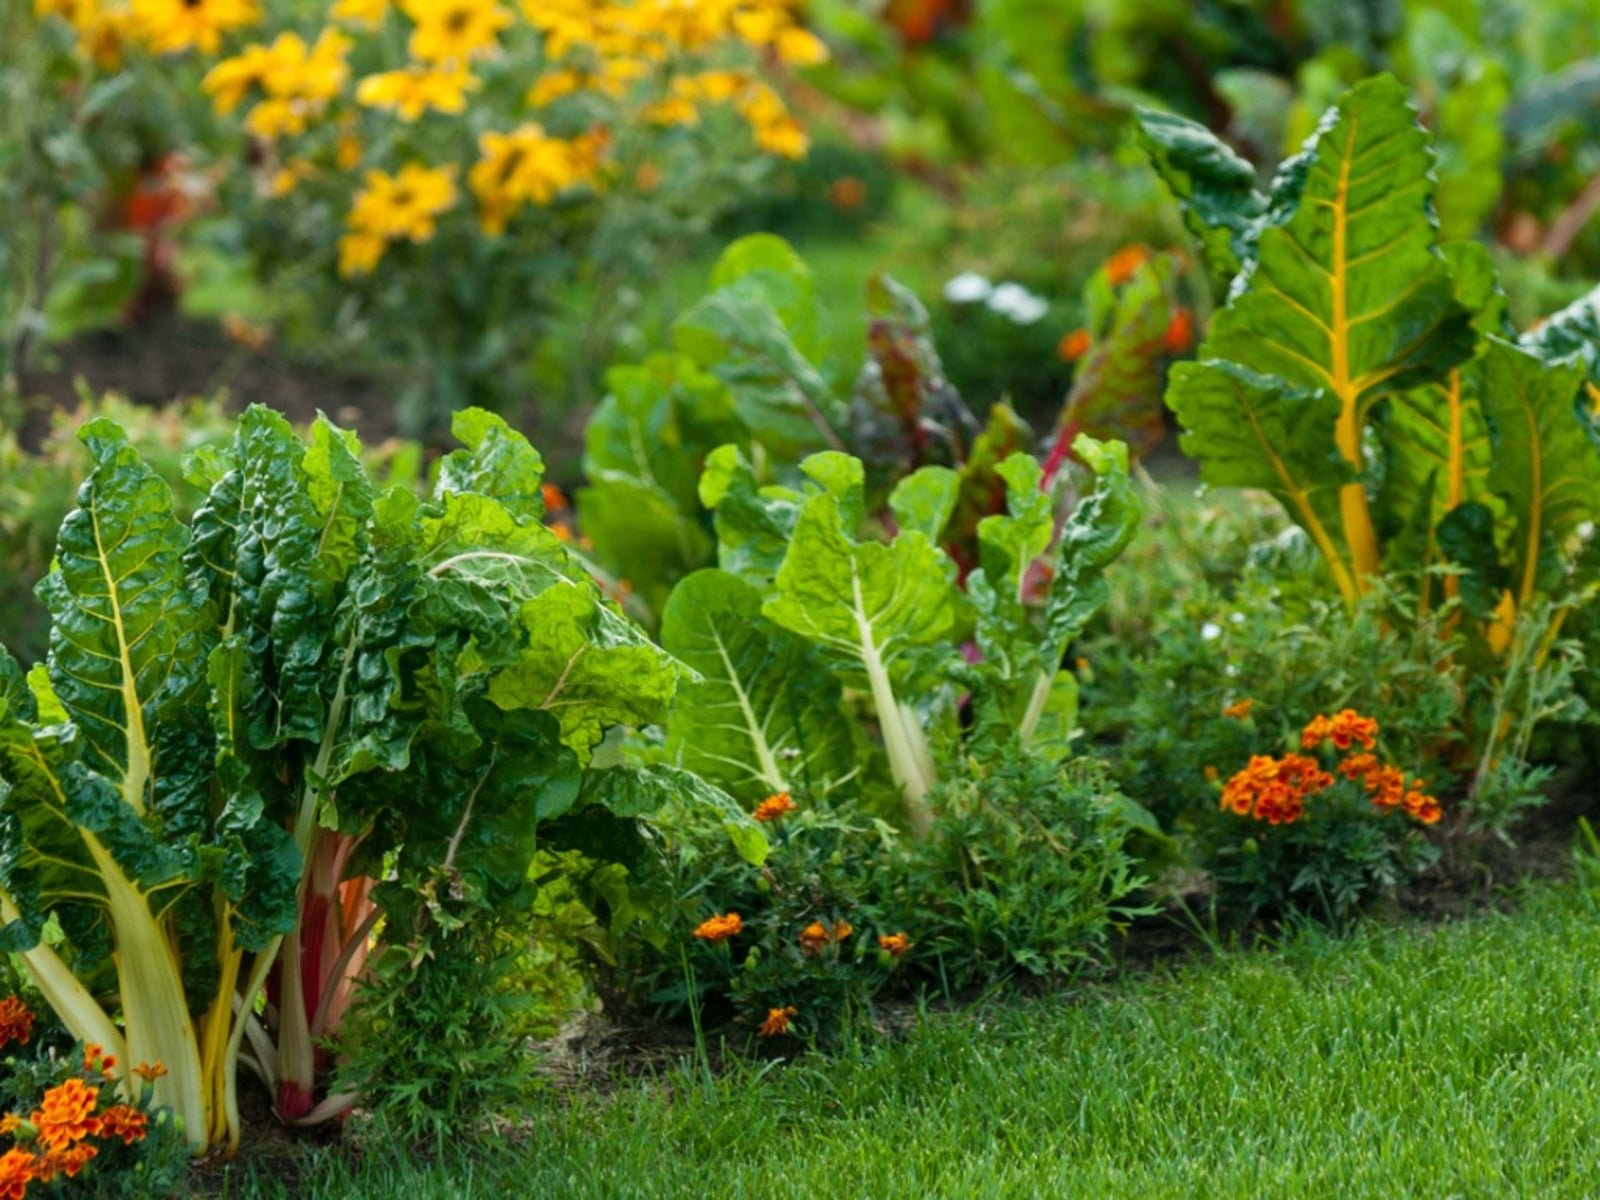
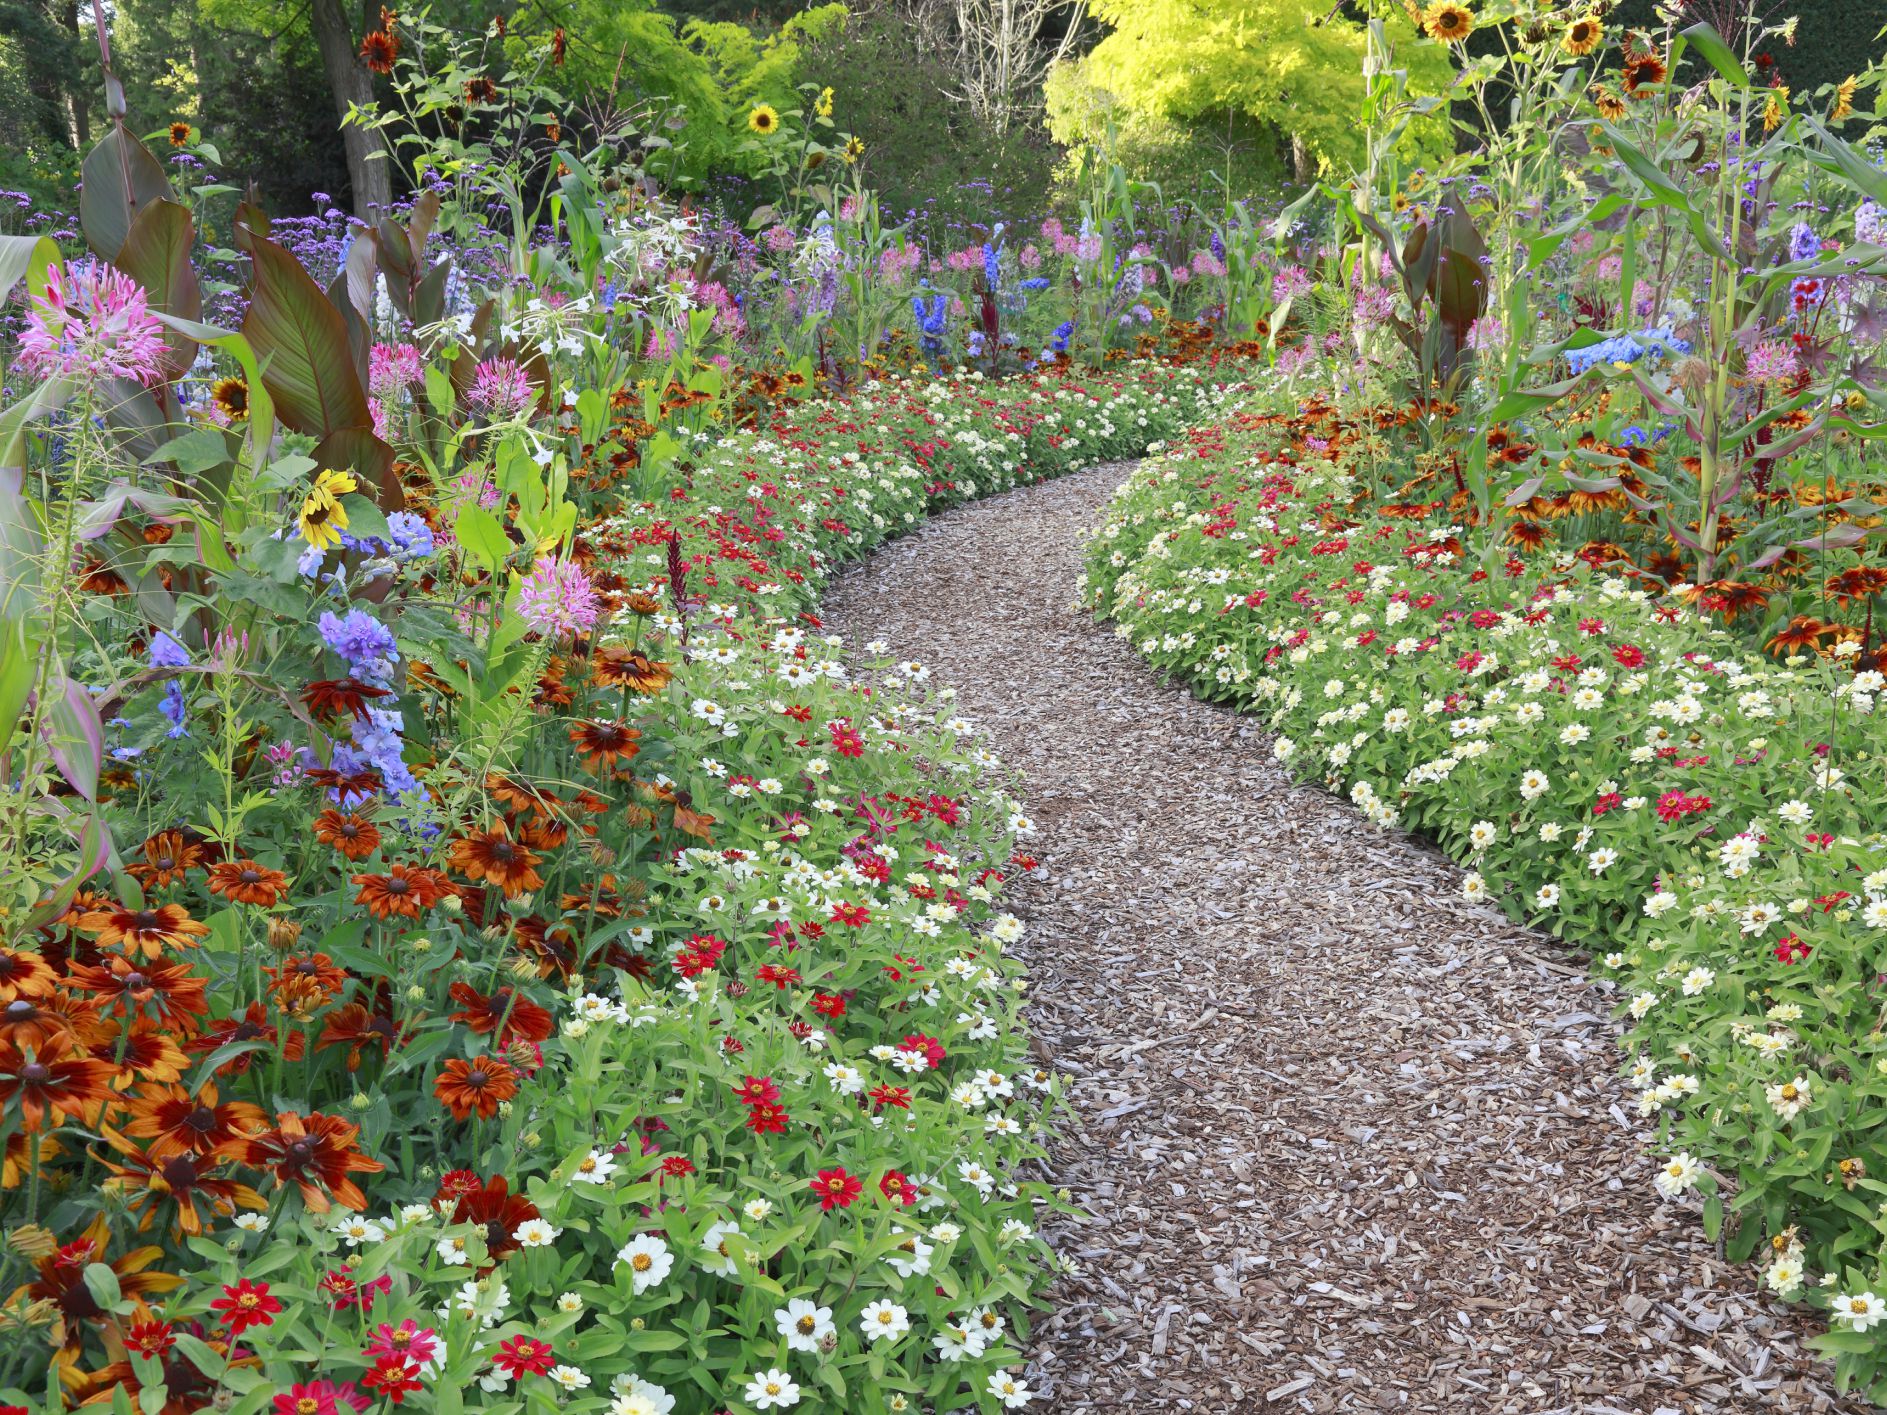
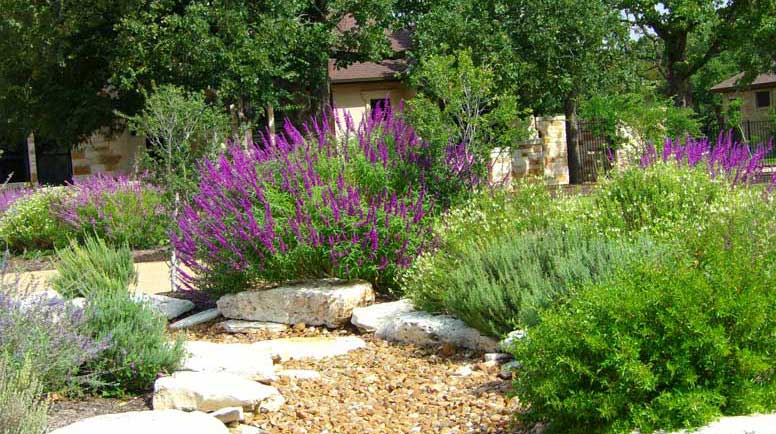
English Country Garden
This English cottage house plans to have a romantic garden and a great atmosphere. The style of the English Country Garden is a long-standing tradition that dates back to the 18th century when they were created for practical reasons in an age when time was precious and labor was expensive. This tradition has continued into the 21st century, albeit with many modern twists.
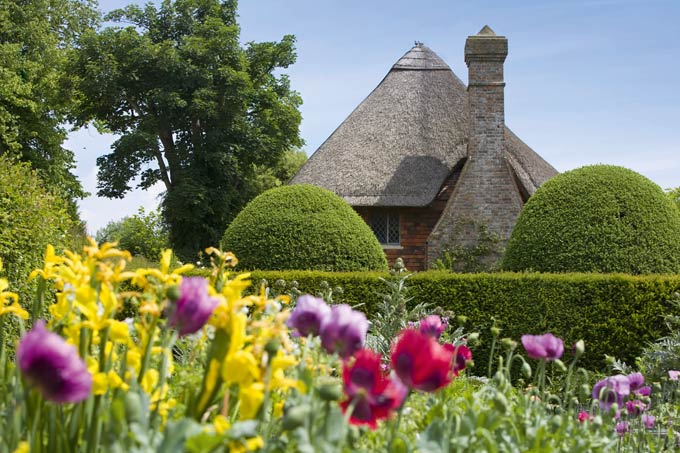
Image credit: https://www.britain-magazine.com/
This cottage-like home is like stepping into earlier times in England. Since the English Country Garden style uses natural materials, the look has a rustic feel. This home is perfect for anyone who loves to garden or prefers to eat homegrown vegetables and fruits. The charm of this cottage lies in its simplicity and use of natural resources, which allows it to be low-cost yet very functional.
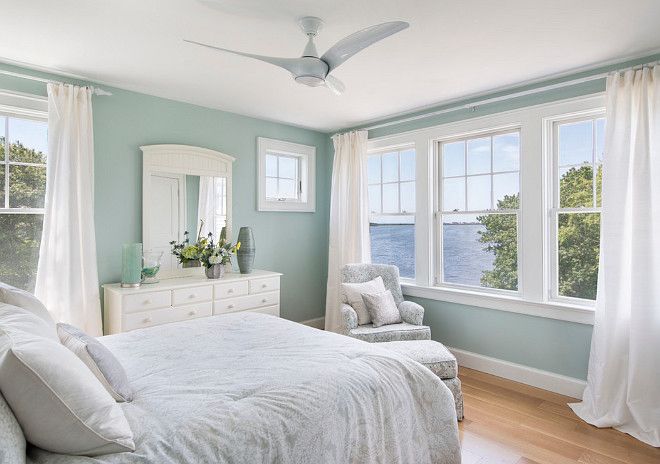
Older-Looking English Cottage
If you have French antiques and furnishings, English country decorating might cause the room to look cluttered and crowded. The English country style is less formal than other types of interior design and would best fit a bedroom decorated in ornate Victorian antiques, like this one.
Although there is simplicity in the cottage style, it doesn’t mean that you should avoid color. In fact, you can add architectural elements and furnishings to give a newish home character and lots of personal touches.
Bibury Cottage
If you want to stay in the cottage style with English country decor but add more color, go for it. There is no reason why this room has to be painted white. This bedroom with dark wood paneling and bed frame with blue Peacock fabric looks striking with its gold accents. The tall mirror adds height, which is always great in a room.
Colorful patterns are another way to add more color without having to change the overall color scheme. Here, English country decorating styles clash with modern furniture creams and reds, but it is still fun to look at. Also, note the characteristics of front-facing gables and steeply pitched roofs.
dd Cottage Door Windows
Cottage doors are charming. They help create that English countryside looks and feel, such as the door here -with its blue floral design almost like wallpaper. If you don’t want to go with a fully-fledged country style for your cottage bedroom, keep the doors but do something interesting with them.
The geometric pattern on the left-hand side of this door is both striking and scrumptious. Add a contrasting color for the doors, such as the pastel green, to complete your design. A favorite choice is French windows that are inset into the wall rather than being freestanding in front of it. You can use wooden shutters to close these during the day and then open them at night, perhaps with a candle placed on top of one.
Use Every Nook and Cranny
If your home features angular, tight spaces, don’t be afraid to put them into cozy nooks. Features that are difficult to navigate are easily given purpose with English cottage house plans. English cottage style is known for its cozy, small living spaces used for as many creative purposes as possible. You can highlight your style by using every nook and cranny in the house to create a homemade, rustic feel.
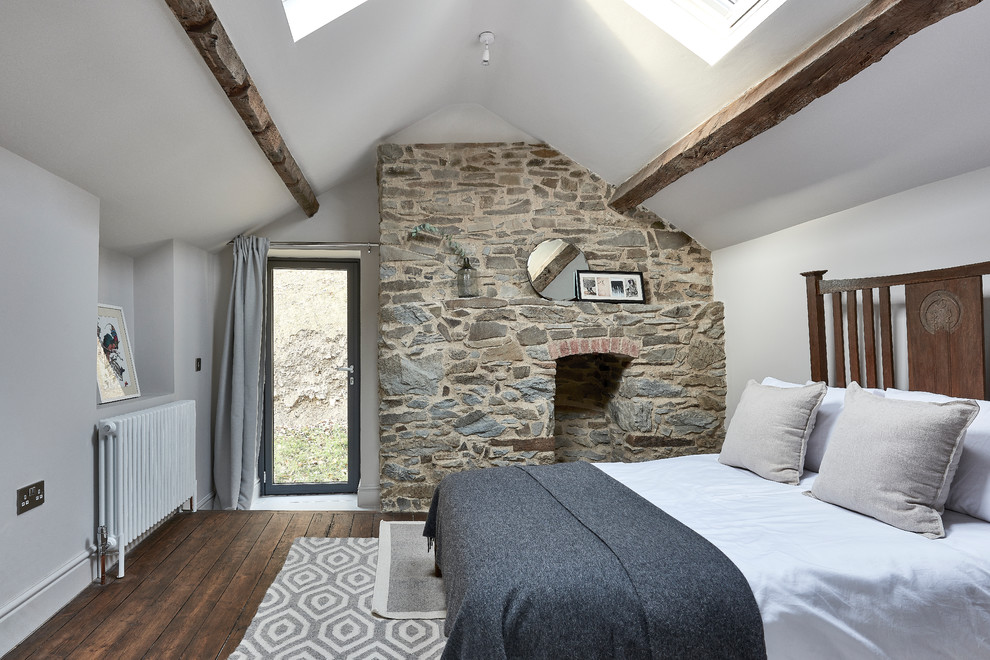
Wiltshire English Cottage House
This cottage is located in a tiny rural village in Wiltshire, England. It has a false thatched roof, leaded, casement windows, and stacked chimneys. This English cottage style is made of stone and timber with red brick. There is a small portico on the front of the home with black supporting columns, giving it a rustic feel.
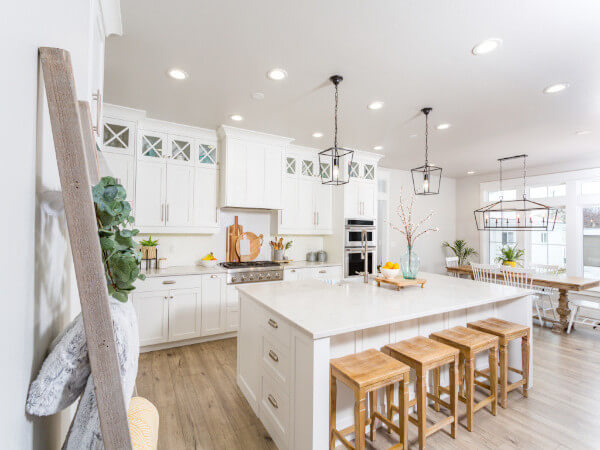
This house has mainly all wood interior, including floor plans, staircase, walls, wainscoting, doors, and baseboards. It also has decorative plasterwork throughout the house. This house is about 7,000 square feet. It includes two bedrooms, four bathrooms, and three fireplaces. This cottage-style home has an open plan kitchen with breakfast area that leads to a family room with a stone fireplace.
There are reclaimed beams throughout this home, giving it the rustic feel that the owner was trying to achieve. The dining room is open to the kitchen with an island. The living room has a stone fireplace.
FAQs about English Cottage House Plans
How do you make an English cottage look?
Create an English cottage look by planting lush greenery. Plant bushes, trees, and other greenery native to your area, and creeping plants such as ivy will make your home look like it’s emerging from nature.
Final Thought about English Cottage House Plans
English cottage house plans are very popular home plans because they offer so many different layouts. When building your own house, you can choose one-story English cottages or two-story versions, but be sure to consider the number of bedrooms and bathrooms you must have for your family size. Be sure that you include plenty of storage to keep all of your belongings neat and tidy.
The post Best English Cottage Designs appeared first on Kitchen Infinity.
Did you miss our previous article…
https://www.centrecountyfood.org/?p=539