post

How To Grow and Care for Godetia Plant

Godetia is a spring-blooming annual flower. It’s native to Western North America. It blooms throughout the summer and attracts bees, butterflies, and hummingbirds. However, most people don’t know how to care for this beautiful flowering plant and end up killing their plants instead.

If you want your Godetia to thrive, you should take the time to learn about its growing conditions to give it what it needs. If you want to keep your yard free from these invasive plants, growing them yourself will help reduce their numbers.

Growing this flower isn’t hard, but there are a few things you’ll need to know before planting, so you don’t end up with dead flowers. Here’s how to grow the godetia plant successfully and without accidentally spreading seeds.

Origin of the Names

This genius plant was called Godetia about a 19th-century Swiss botanist Charles Henry Godet. Later, the name was changed to Clarkia in honor of William Clark of the famous Lewis and Clark Expedition. And finally, Godetia amoena, which means beautiful and pleasing. 

The Godetia plant is also named farewell to spring because it doesn’t like hot and humid summer weather. It’s a cool-season annual that puts on most of its growth in the spring. As soon as temperatures begin to rise at the start of the summer, godetia flowers come into their peak, leading to their nickname farewell to spring.

Godetia Care

Size and Growth

The Godetia plant grows to about 14 inches tall and 16 inches wide, with green leaves on top and gray underneath. These elegant plants produce green stems with thin leaves. As an annual plant, Godetial dies each year.

Flowering and Fragrance

Godetia plants produce a cluster of trumpet-shaped pink, red, or salmon flowers. The Godetia flower blooms in the late spring then flower throughout the summer. While the flowers don’t have a noticeable fragrance, they’re still very attractive to look at. Godetia plants can also make great cut flowers. All you need to do is to cut several stems once the flowers appear, then trim off the spent blooms to encourage new blooms to appear.

Soil

Godetias thrives on soil types ranging from sandy to loamy soils with medium acidic content. Adding organic matter before planting helps maintain this pH balance. These plants grow well on average to rich soil. Organic matter helps to keep the soil moist and not wet. You can make compost to get organic matter easily. Add mineral fertilizer when planting, then once a month after planting. 

This will ensure strong roots and a healthy plant. Also, mulch around them to help retain soil moisture and keep the plants healthy. You can also use any enhanced water that is available from large retailers for watering these plants.

Watering

Godetia plants have similar needs as other flowering annuals when it comes to watering. Provide enough water, so your plant doesn’t wilt but not too much water to where it’s sitting in puddles. Whether you grow it in a tub, pot, or container, this plant needs frequent watering. 

This means if you’ve seen your plant start wilting, then give it a bit of water, which should restore its health. If the wilting persists, then you may have given it too much water, or your soil is overly wet. On the other hand, if your plant isn’t wilting but looks dry, you can water it to restore its health.

Light and Temperature

Grow Godetia in full sun unless your garden is in a hot area with lots of humidity. It’s also suitable for outdoor growth in USDA hardiness zones two to eleven. It can tolerate both warm and full sun, but it’s not a particularly picky plant.

Grooming Godetia Plant

Do not prune your plant at the end of winter because this will affect flower production. Instead, it’s better to cut back around mid-summer and then again in early autumn should you feel the need to do so. Make sure you dead-head and remove withered flowers as this will encourage new blooms next year.

How to Propagate Godetia Amoena

As an annual, this plant dies at the end of every year, so you need to propagate it with seed each year. After purchasing your seeds, you can plant them any time of the year. Sow the seeds early spring indoors and cover lightly with fine garden or potting soil to encourage early bloom. 


Image credit: https://www.gardensonline.com.au/

You can directly seed it in your flower garden or start it in four to six weeks before the last frost date in your region. When sowing outdoors, sow the seeds after the last frost date. Flowers bloom early to mid-summer while taller varieties may require staking.

Use a propagating tray to help you spread the seeds over the light soil, then cover your seeds with plastic and poke holes for ventilation. Placing your tray in a bright spot such as a windowsill and balcony will help your seeds grow. Ideal plant spacing is 16 to 20 inches and godetia plants don’t like to be crowded.

How to Grow Godetia Plants from Seeds

Godetia is grown from seeds, and this propagation method is not difficult for flower growers. You can sow godetia seeds directly in the open ground where you want to grow your flowers. However, if you are a beginner, sow the seeds in seed trays or containers to make it easy for you to identify each type of seedling.

How to Grow Godetia Plants from Seeds
Image credit: https://www.thespruce.com/

If you want to sow your godetia seeds in the garden, do it in the middle or end of April. In areas with warmer climates, you can sow seeds even in autumn. Before planting, immerse your seeds in a weak solution of potassium permanganate for half an hour to protect future sprouts from diseases.

Spring Planting of Godetia

At the end of May or early June, you can plant seedlings that have reached 2 to 2.8 inches in an open ground with the soil cold so as not to damage the roots of the seedlings. You should do this in cloudy weather, early in the morning before sunrise or in the evening after sunset.

utumn Planting of Godetia

Autumn Godetia should be planted only in warm climate areas. Flower growers prefer to sow seeds directly into the ground. However, plants grown from the seeds sown in late autumn are better adapted to the environment and resistant to pests and disease.

Species and Varieties of Godetia

Godetia Grandiflora

This is the most common species in commercial cultivation. The plant’s height reaches 20-30 cm, and the flowers are purple or pinkish. They grow well in half shade but are not among the shade-loving flowers. You must also remember to protect them from direct sun rays during hot summer days.

Godetia Amoena

This variety is two feet high and produces large flowers with a diameter of 4-5 cm. Plant it in full sun, but protect its delicate buds from frost and strong wind.

Double Godetia

This is a rare variety that features double flowers in white or rose colors. The plant is tall – 1-1, 5 m. Seeds need cold weather to germinate and will only grow in bright sunlight.

FAQs on How to Grow and Care for Godetia Plant

Is the Godetia plant easy to grow?

Growing Godetia is easy and fun; plus, the plant will provide you with heaps of flowers in just a few months.

What’s the best way to grow Godetia?

You can grow godetia flowers in containers, window boxes, or flower beds. If you want it to survive during winter, plant it in rich soil with organic matter and place it in full sun during summertime.

Final Thought on How to Grow and Care for Godetia Plant

As you can see, growing and caring for the Godetia plant is not that hard and is very rewarding. If you love flowers, then you should consider growing this plant. You will enjoy the color and beauty of the godetia flower in your garden.


The post How To Grow and Care for Godetia Plant appeared first on Kitchen Infinity.

post

Four Easy Do-It-Yourself Soil Tests

Soil is the foundation of your garden. Knowing what makes up your soil and how to amend it is an important part of successful gardening.  Unfortunately, many people don’t know how to test their soil’s pH or even begin. 

Well, if you’re like most gardeners, you don’t have the time or money to get a professional test done on your soil. So how can you be sure your plant selections are going to thrive in your yards? That’s where these simple DIY tests come into play. 

The following easy do-it-yourself tests will give you a good start on knowing your soil’s strengths and weaknesses. The results from the tests will give you an idea as to whether or not professionals should do more testing before any changes are made based on this information alone. Let’s get started!

The Squeeze Test

This test is based on the premise that soil with good texture will form a ball in your hand and fall apart when lightly squeezed. Be ready to get your hands when testing your soils using this method. In this soil test, soils are classified as clay soils, sandy soils, and loamy soils.


Image credit: https://bdn-ss-hh.s3.amazonaws.com/

Clay soil is nutrient-rich but slow draining, while sand is quick draining but has trouble retaining nutrients and moisture. Loam soil is considered the ideal soil because it retains moisture and nutrients while draining well. In the squeeze test, you’ll need a handful of moist soil from your garden or from near plants that are growing well. 

Be sure to use only a small amount from around the tops of plants. Avoid collecting soil from dry areas around plant roots, which could be hot and baked, as this can damage the organism living in the soil. In the squeeze test, the soil should form a lump that holds together well but can break apart easily by hand. This result shows it is loam soil, which is ideal for plant growth. 

Sandy soil will remain crumbly and may be difficult to squeeze together in your hand, while clay soil will form a hard lump and crumble when squeezed. For slow-draining clay, you can break up the soil with mulches and drainage aids like perlite and vermiculite. 

The Puddle Test

Drainage is another important aspect of your soil that you must consider because it allows water to pass quickly without pooling. If your soil has poor drainage, it can cause root rot to your plants. Culinary herbs are the main culprit of root rot due to their shallow root system. 

The Puddle Test
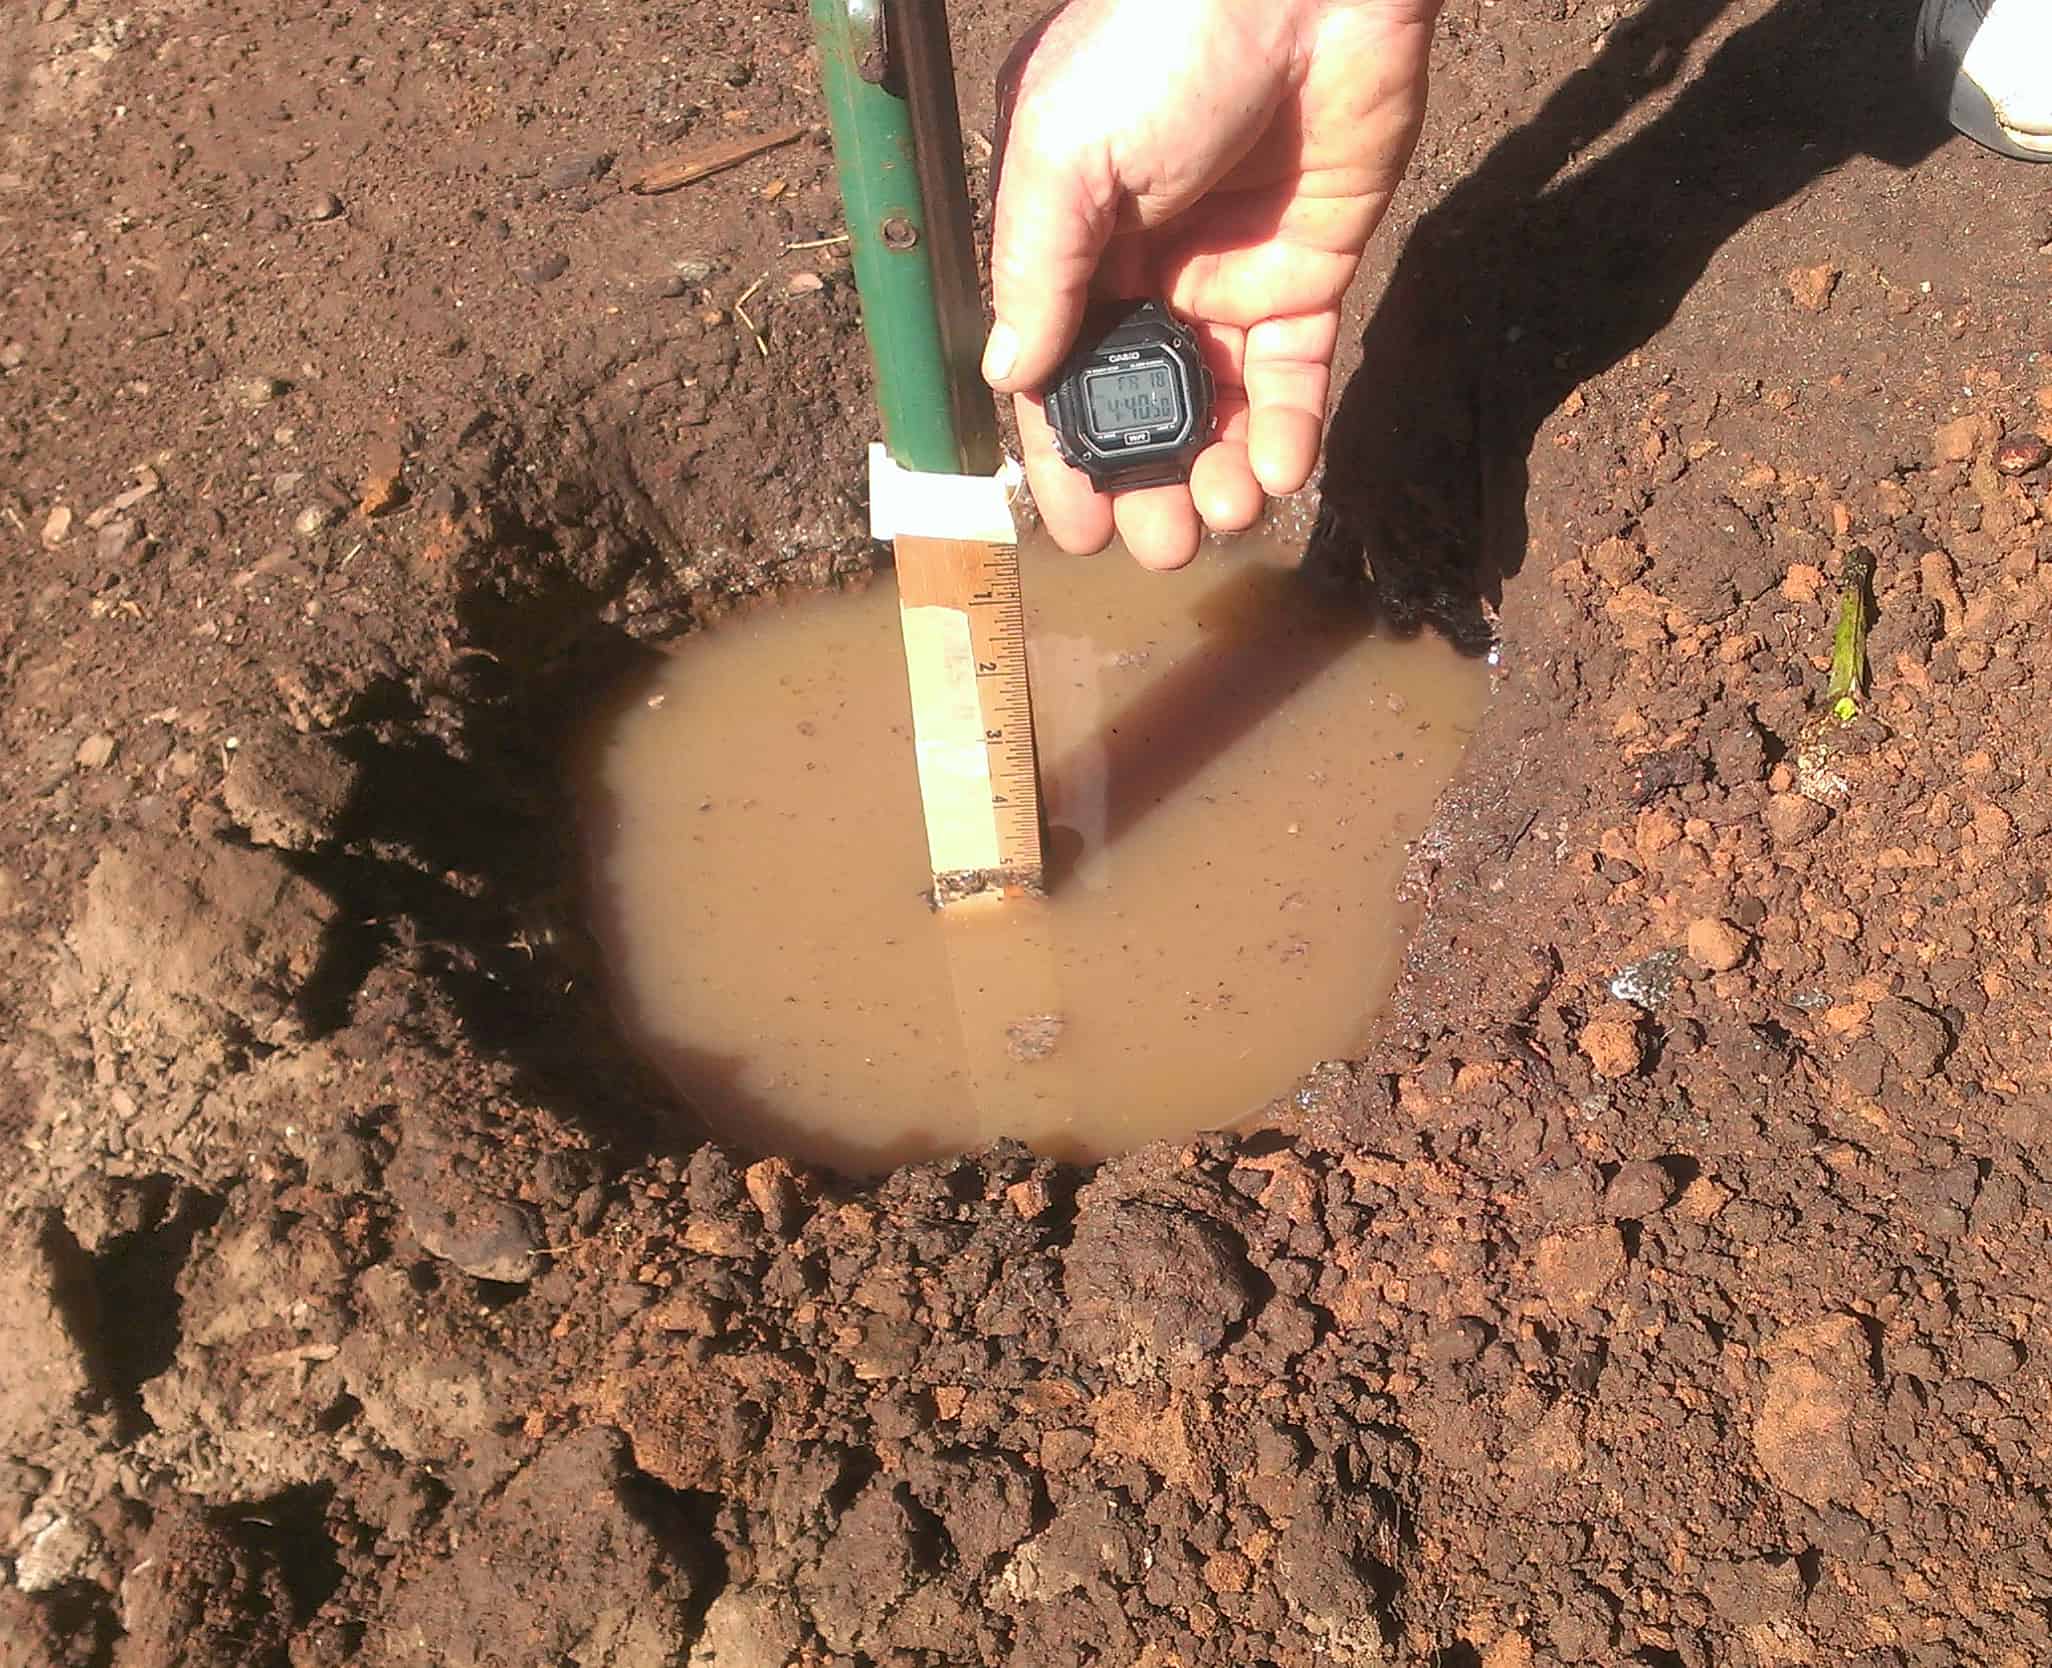
Image credit: https://greywateraction.org/

The puddle test is the best way to check soil drainage. Take a handful of moist soil and roll it into a ball in your hand. Then, drop the ball into a bucket filled with water. If your soil sinks, you have good drainage. If not, drill some holes in your garden beds at least 6 inches deep before planting your herbs. 

If the water takes more than four hours to drain, then you have poor drainage. Fortunately, you can amend this by mixing some organic matter, such as peat moss or compost, into the soil around your herb plants.

The Vinegar and Baking Soda Test

Soil acidity, alkalinity, and soil pH are very important elements to the soil. Some plants will thrive better in more basic soil or acidic soil. But soil that is too extreme can also be a problem. It can prevent them from getting nutrients. 

The Vinegar and Baking Soda Test
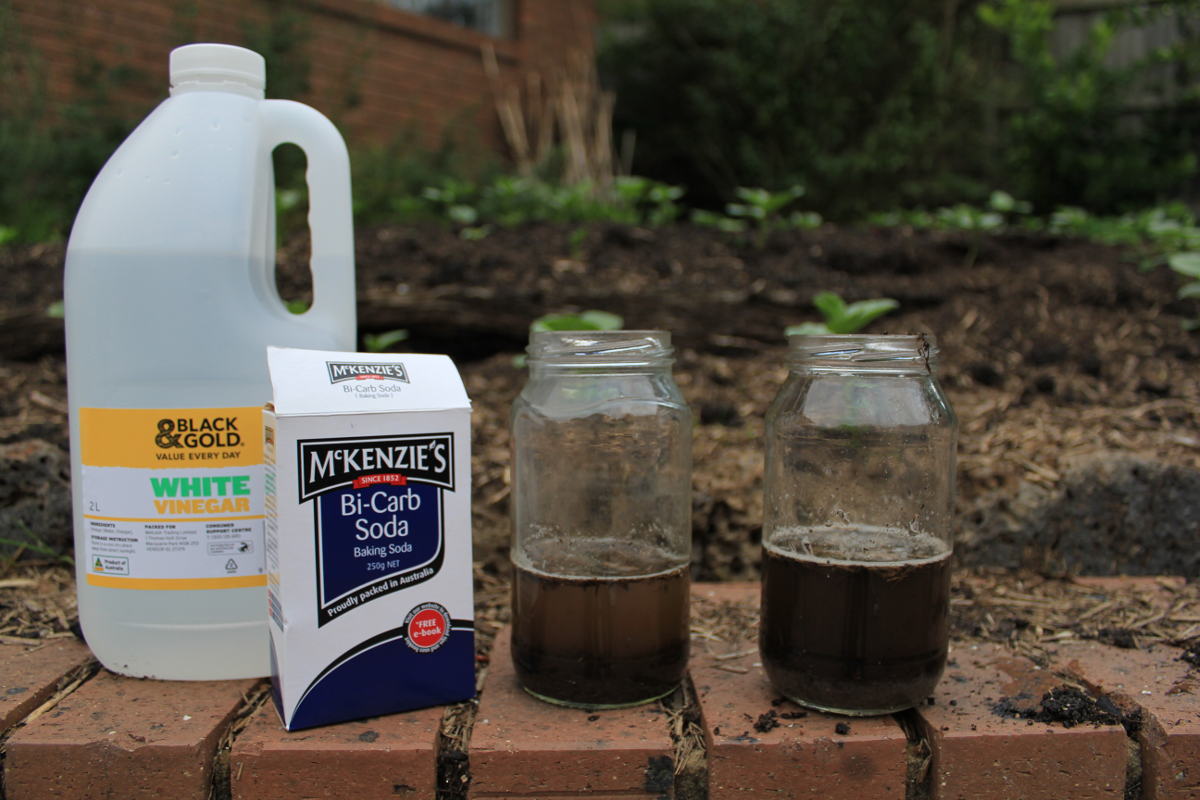
Image credit: https://www.theseedcollection.com.au/

To find out the pH of your soil, put a teaspoonful of soil in a small glass jar and add half a teaspoon of distilled white vinegar. Put on the cap tightly and shake well for about one minute. Let it sit for another five minutes to see if there are any bubbles that appear on the surface.

If it fizzes, you have alkaline soil with higher pH, which you can remedy by using a fertilizer rich in sulfur and acidifying nitrogen. Some plants can tolerate alkaline soil, while others like parsnips and peanuts will do well in the sweet soil. If your soil doesn’t fizz after the vinegar test, add distilled water to another container with the same amount of soil and add half a teaspoon of salt.

Stir occasionally for 15 minutes and see if there are any noticeable changes. If you see the particles change, your soil has acidic properties, meaning that you have sodium chloride in your garden, which can be harmful to plants, so be sure to use compost with neutral pH to reduce the risk.

If your soil doesn’t change its properties, you have a neutral pH, meaning adding compost is beneficial for the plants. Learn how to make compost so you can add it to the soil. A pH of 7 means that the soil has an alkaline nature – there are more nutrients available to your plants, and they do not tend to die as often as those growing in acidic soils, so be sure to use only fertilizers with a pH of 5-7.

So, by doing this simple test, you will be able to quickly determine your soil’s pH, which is especially important if you plan on growing any plants that do not tolerate acidic or alkaline soils, such as most vegetables. You will also discover whether or not the soil has any organic matter in it. The more organic matter, the better because if there is none, you will need to take some time to break down any hard dirt clods before planting, which can be difficult for novices.

The Cabbage and Wire Test

Soil that is too compact will inhibit root growth, choke off available water, and prevent worms and other vital soil critters from moving freely. To test soil compaction, plug a wire flag vertically into the soil. Mark the depth at which the wire bends.

Make sure the wire bends where it cannot be pushed down straight. You can easily push the wire down a foot or more. Don’t let it bend because the more it bends, the more it becomes compacted. You remedy compaction by amending your soil organic material, aerating organic materials, and avoiding walking on the wet soil in your plots.

When it comes to the cabbage test, you can purchase a home testing kit or use a more advanced DIY test using red cabbage. Red cabbage contains a pigment known as flavin that dissolves in water and will turn red in acidic solution and greenish-yellow in basic solution. 

Allow one tablespoon of soil from your garden to dry on a white saucer, then bring one cup of distilled water to boil in a pot with a lid. Add two cups of chopped red cabbage into the boiling water. Cover and boil until the water turns dark purple. 

Make sure you wet the soil and sit for some minutes, then tip the saucer to allow water to run to the side. If the soil turns blue or green, it’s alkaline, and it turns red, then the soil is acidic.

The Peanut Butter Jar Soil Test for Sand, Silt, and Clay

This is a very easy test. Fill a jar halfway with soil, then fill the rest of the way with water. The amount of water needed will vary depending on your jar size, so it’s best to start empty and add water until the jar is two-thirds full. Put in one teaspoon of dish soap and shake vigorously for 30 seconds. 

The soap will suspend the particles to see how many there are and what kind they are. The jar should be enough to do about a cup of soil. If not, use another jar and combine the results. Calculate the percentage of silt, sand, and clay, which should add up to 100 percent. 

Healthy soil will consist of 20 percent clay, 40 percent silt, and 40 percent sand. If you have sandy soil, you can remedy this by adding humus, aged manure, peat moss, and sawdust with some extra nitrogen. For silt soil, add coarse sand, gravel, compost, and well-rotted horse manure. If you have clay soil, coarse sand, and not beach sand, plus compost and peat moss will work well.

FAQs on 4 Easy Do-It-Yourself Soil Test

re home soil test kits accurate?

Yes, but you have to follow the directions carefully and take several samples from different garden areas or lawns.

How much soil should I get for a soil test?

In general, take at least a cup of dry soil from each spot. However, if there is not enough soil in any one spot to fill a 1-cup measure, take a 1/2 cup from two different spots.

Is it expensive to get a soil test done professionally?

A local extension agent can perform a low-cost or free soil pH test for you, but you would have to go in person to their office and pick up the report. It may be worth your time, though.

Final Thought on Four Easy Do-It-Yourself Soil Tests

When considering what your soil needs for the plants to thrive, it’s good to consider a complete report from your cooperative extension. However, carrying this simple test can help you understand what your soil may be lacking. Then you can take the next step toward creating a healthy garden.


The post Four Easy Do-It-Yourself Soil Tests appeared first on Kitchen Infinity.
Did you miss our previous article…
https://www.centrecountyfood.org/?p=361

post

How to Unstick and Fix a Broken Zipper

Zippers are great for keeping your clothes closed, but they can also break down over time. A broken zipper can be an annoying problem that makes it difficult to wear favorite clothing items. Luckily, there are several ways to fix a stuck zipper without replacing it or throwing out the item of clothing. 

With a few tools and some creativity, you can fix zipper problems ranging from a stuck zipper, broken zippers, stuck zippers, and any other problem related to the zipper.

What You’ll Need

Strong threadBar of soapWD-40 lubricantSmall needle-nosed pliersHand sewing needleScissorsGraphite PencilSmall flathead screwdriver

How to Fix a Stuck Zipper

Use Graphite to Lubricate the Zipper

Use a graphite pencil to lubricate the zipper. Graphite is a dry lubricant that can act as an alternative to liquid lubricants like WD-40. To use graphite, put some on a cotton ball or paper towel and wipe it along the troublesome part of the zipper. Work the zipper up and down. Before moving on, wipe away any excess graphite, so it doesn’t get transferred to other clothing items when the zipper is closed.


Image credit: https://i.pinimg.com/

pply Laundry Soap and Wax

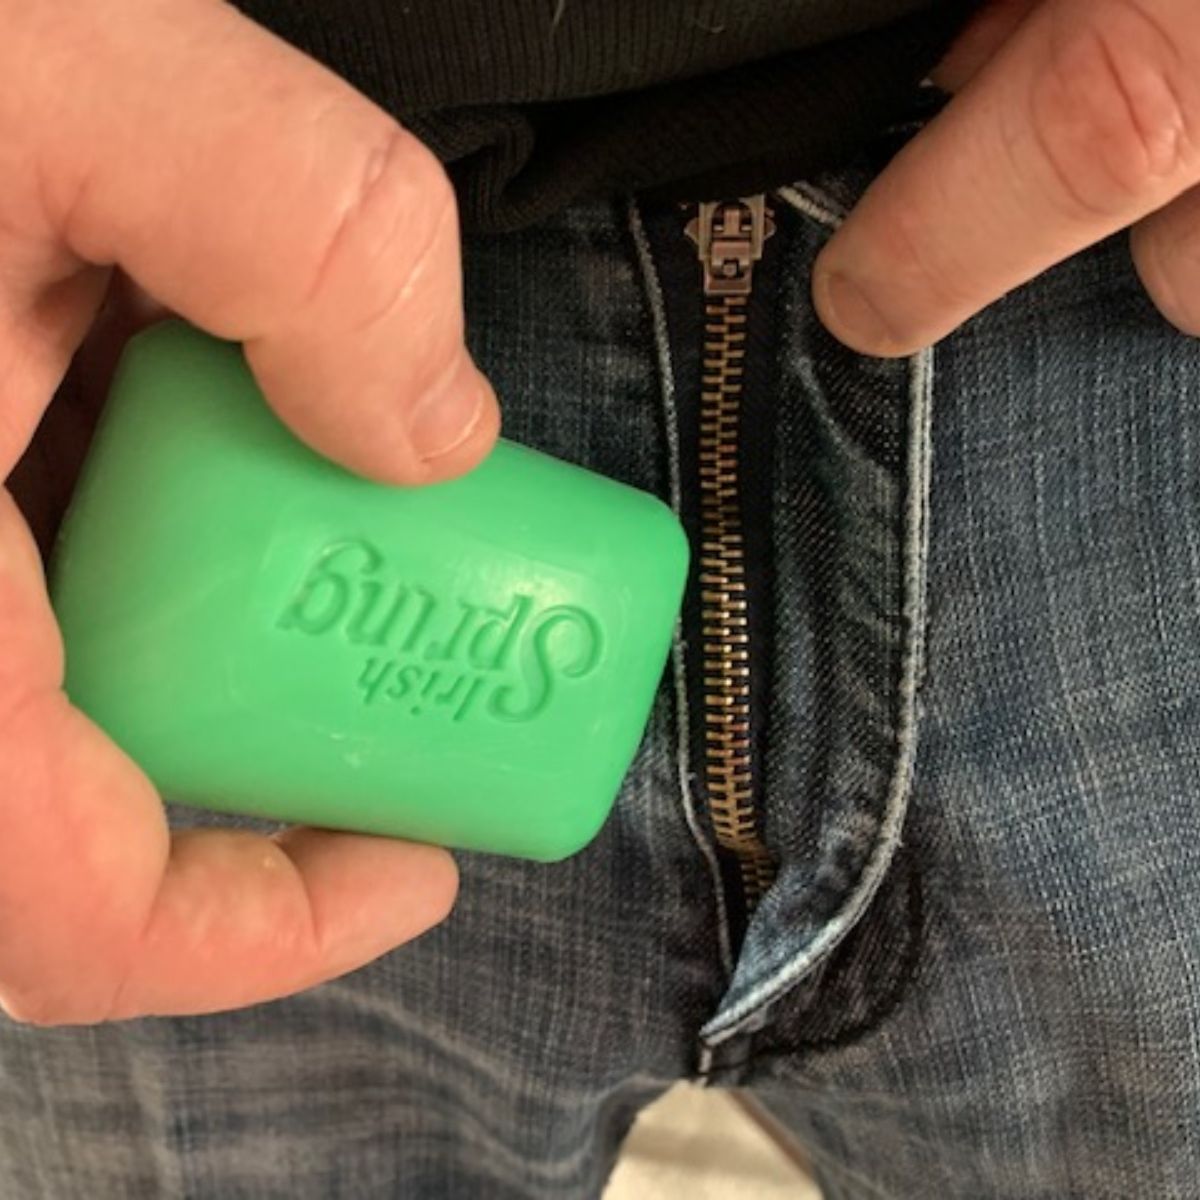
When the graphite pencil doesn’t work, don’t add more graphite; instead, add a dab of laundry soap to your stuck zipper. The soap will add an extra level of lubrication that will help unstick the zipper. 

Apply Laundry Soap and Wax
Image credit: https://www.shared.com/

You can also use lubricating substances such as chapstick and lip balm to fix your zipper. If you don’t have any on hand, try a little unscented block of paraffin wax from a candle instead. If you’re worried about these lubricants staining your fabric, you can turn to petroleum jelly. 

Add a fingertip’s worth of petroleum jelly to the teeth of the zipper and gently rub it in – but only on the side facing your clothing or fabric. This will add a little extra oomph to the graphite’s powers and make sure that your clothes stay stain-free.

Wash Your Item and Add More Lubricant

After the zipper seems to be moving more smoothly, you’ll probably want to clean your clothing or bag. Wash it as directed on the tag and add a little lubricant right after or while it’s still wet. This way, just like chapstick on a zipper, the petroleum jelly will transfer itself from the fabric itself to the zipper.

How to Fix a Broken Zipper

Remove the Zipper Stop

For you to get the slider back on track, you’ll need to remove the zipper’s stop at the top. You can gently pull it off with your fingers and put a new one on if necessary after you have fixed the slider. 

Remove the Zipper Stop
Image credit: https://i.ytimg.com/

On the other hand, you can use pliers to get a good grip by prying off the zipper’s bottom stop or the little band of metal or plastic at the bottom of the zipper teeth. Use the pliers to slightly stretch the openings of the metal stoppers and wiggle them free. You can also use a flathead screwdriver if you don’t have pliers.

Position the Zipper Pull

Before you try to fix a broken zipper, look at it from the front and determine which way it should move. The stoppers that hold the pull open should face away from each other when the slider is fully closed. You might have to loosen or remove clothing from one side of the zipper if you can’t see a difference between closed and half-closed.

Once you’ve removed the metal or plastic, stop, use the pull tab to move the zipper slider back and forth. If it doesn’t move easily, spray the zipper with a lubricant. Lubricants can make an old zipper function like new, but they won’t work if the teeth are worn out or bent.

djust the Slider and Rearrange the Teeth

Realign the zipper teeth so that they all mesh smoothly. If you can’t mesh them, mark the spot where there is a problem aligning the teeth. After that, reposition the zipper pull by moving the slider to that spot.

Thread the Sewing Needle

Using your sewing machine, thread the sewing needle with heavy-duty thread and tie a knot at the tail of the thread. If your zipper doesn’t have teeth on both sides, you’ll need to sew it with two separate needles.

To keep the stitches as small as possible, move slowly. Insert one threaded needle into each stitch along the length of the zipper. Remove the sewing from the machine, leaving about an inch of thread on each side.

Create a New Zipper Stop

Pull the thread up through the zipper, leaving the knot on the top surface. Add another zigzag stitch to secure the stop. You can make six or seven stitches across the bottom of the zipper where you’ve removed the old zipper stop to create a new zipper stop made out of the thread.

Zippers With Teeth on Both Sides

Replace the slider by repositioning it over both sides of the original tape. Using a sewing machine, move slowly and sew a few stitches along each side to create a new zipper stop between the teeth. Pinch the metal stop on the same side as the old slider with needle nose pliers or tweezers. 

Use one hand to hold it steady while pulling the slider off with your other hand. Slide the new replacement slider onto both sides of the tape before pinching and removing any excess tape. Make sure that each piece of tape is flush against its neighbor when you are done.

Take Off the Bottom Stop to Repair the Missing Teeth

To deal with the missing bottom teeth, you have to remove the old bottom stop. Hold your cloth firmly and pull the stops off. After that, remove the tack at the base of the zipper using a seam ripper. This is very important because you need to fix all the zipper’s teeth before your zipper works correctly.

Repair Above Damaged Teeth

You can also replace a zipper slider above one of the damaged teeth. This is perfect for when you cannot find replacement teeth at the same size as your other teeth or if it’s too much work to re-sew over the existing holes. Use this method only when there are no missing teeth below the location of the break.

Pinching the zipper tape on either side of the break with a pair of pliers will hold it in place while you work. Unzip your zipper all the way to expose the teeth. Thread the needle with about an inch of thread and tie a knot on each end of the thread.

 Sew each stitch between two teeth, removing any slack in your thread after each pull. Make sure you whipstitch the lower part of the zipper teeth to keep the zipper from gaping open.

Use Paper Clip

A paper clip can be used in lieu of a needle and thread. While it won’t look quite as nice, this method is easier and faster than the sewing method and will probably work in a pinch when you don’t have a needle and thread handy.

Use a Key Ring to Secure Slipping Pants Zipper Pull

Slipping pants zippers are one of the frustrating types of zipper problems. To create a temporary fix, salvage it by attaching a key ring onto your zipper pull. Feed one end of the key ring through the hole in the tab and attach it with another small key ring or paper clip.

How to Prevent Your Zipper from Breaking Again

Don’t Yank it

The best way to avoid breaking your zipper is to ensure you apply too much force to it as you use it. Instead, use steady and consistent pulls to guide the sliders up and down the teeth instead of using sharp, jerky movements.

Keep it Clean

Keeping your zipper clean will ensure that the slider doesn’t get stuck on grime or any strands of fabric that might accumulate in its teeth. If your zipper gets jammed up with gunk, you’re much more likely to yank at it and cause it to break.

Make Sure the Zip is Not Under Too Much Pressure

If you’re fastening a bag that’s overflowing or jeans that are too small, the entire zip will buckle when there is too much pressure pulling the teeth apart.

FAQs on How to Unstick and Fix a Broken Zipper

How do you lubricate a zipper?

Before you pull the zipper down, lightly lubricate it with a bit of wax or bar soap to make sure the slider moves smoothly. Another good idea is to zip up your jacket after applying some beeswax to it.

How do you fix a stuck tooth on a metal zipper?

To solve the problem with one broken tooth in a metal zipper, try remedying it with a pair of pliers and rocking the tooth back and forth while pulling on the zipper.

Final Thought on How to Unstick and Fix a Broken Zipper

As you can see, unsticking and fixing a broken zipper can be achieved in a number of ways, and you don’t need to take your jacket and pants to a store for expensive repairs. With the right tools and items, you can always go back to using them again with no hassles.


The post How to Unstick and Fix a Broken Zipper appeared first on Kitchen Infinity.